The Four Day Chicken–And Then of Course, There’s Soup

What would a four-day chicken challenge be without including the comfort of soup?  I hardly think I need to include a recipe since everyone has their own version–just like grandma used to make, right?  But since boring and bland are not tastes I want coming from my kitchen, I have added a few twists to make this soup oh, so very nice.

For starters, I actually started the soup on Day One of my challenge.  After removing most of the meat from my roasted chicken, I put the bones back into my cast iron dutch oven along with the giblets which I had kept just for stock.  I added a quartered onion, 2 large stalks of celery cut into large pieces, 2 cloves of garlic, and 2 large carrots cut into chunks.  I covered this with water–about 8 cups–and allowed it simmer for a couple of hours.  By that time, I was ready for bed so I refrigerated the whole thing.

The next day, I skimmed off most of the fat and removed all remaining meat from the bones.  If I only wanted the broth, I would have reheated the pot just until the juices had liquefied, and would then have strained it through cheesecloth in my colander. Then I would have divided the clarified broth into freezer containers for later use.


Some vegetable pastas get mushy when reheated so if you are freezing your leftover soup, remove the remaining noodles.  In a later post, I’ll teach you how to freeze and reheat them successfully.

Now that I have reached the end of my four-day challenge, it is your turn.  How do you cook your pastured chicken?  What do you do with the leftovers?  What ideas, tips, and secrets can you share?  Cooking and learning together is fun and motivates us all to make wiser, healthier choices in delicious ways.


Curried Chicken Salad–Day Three of the Four Day Chicken

Boring food?  Not in this house!  David and I are admittedly foodies who enjoy a wide variety of colors, textures, and flavors.

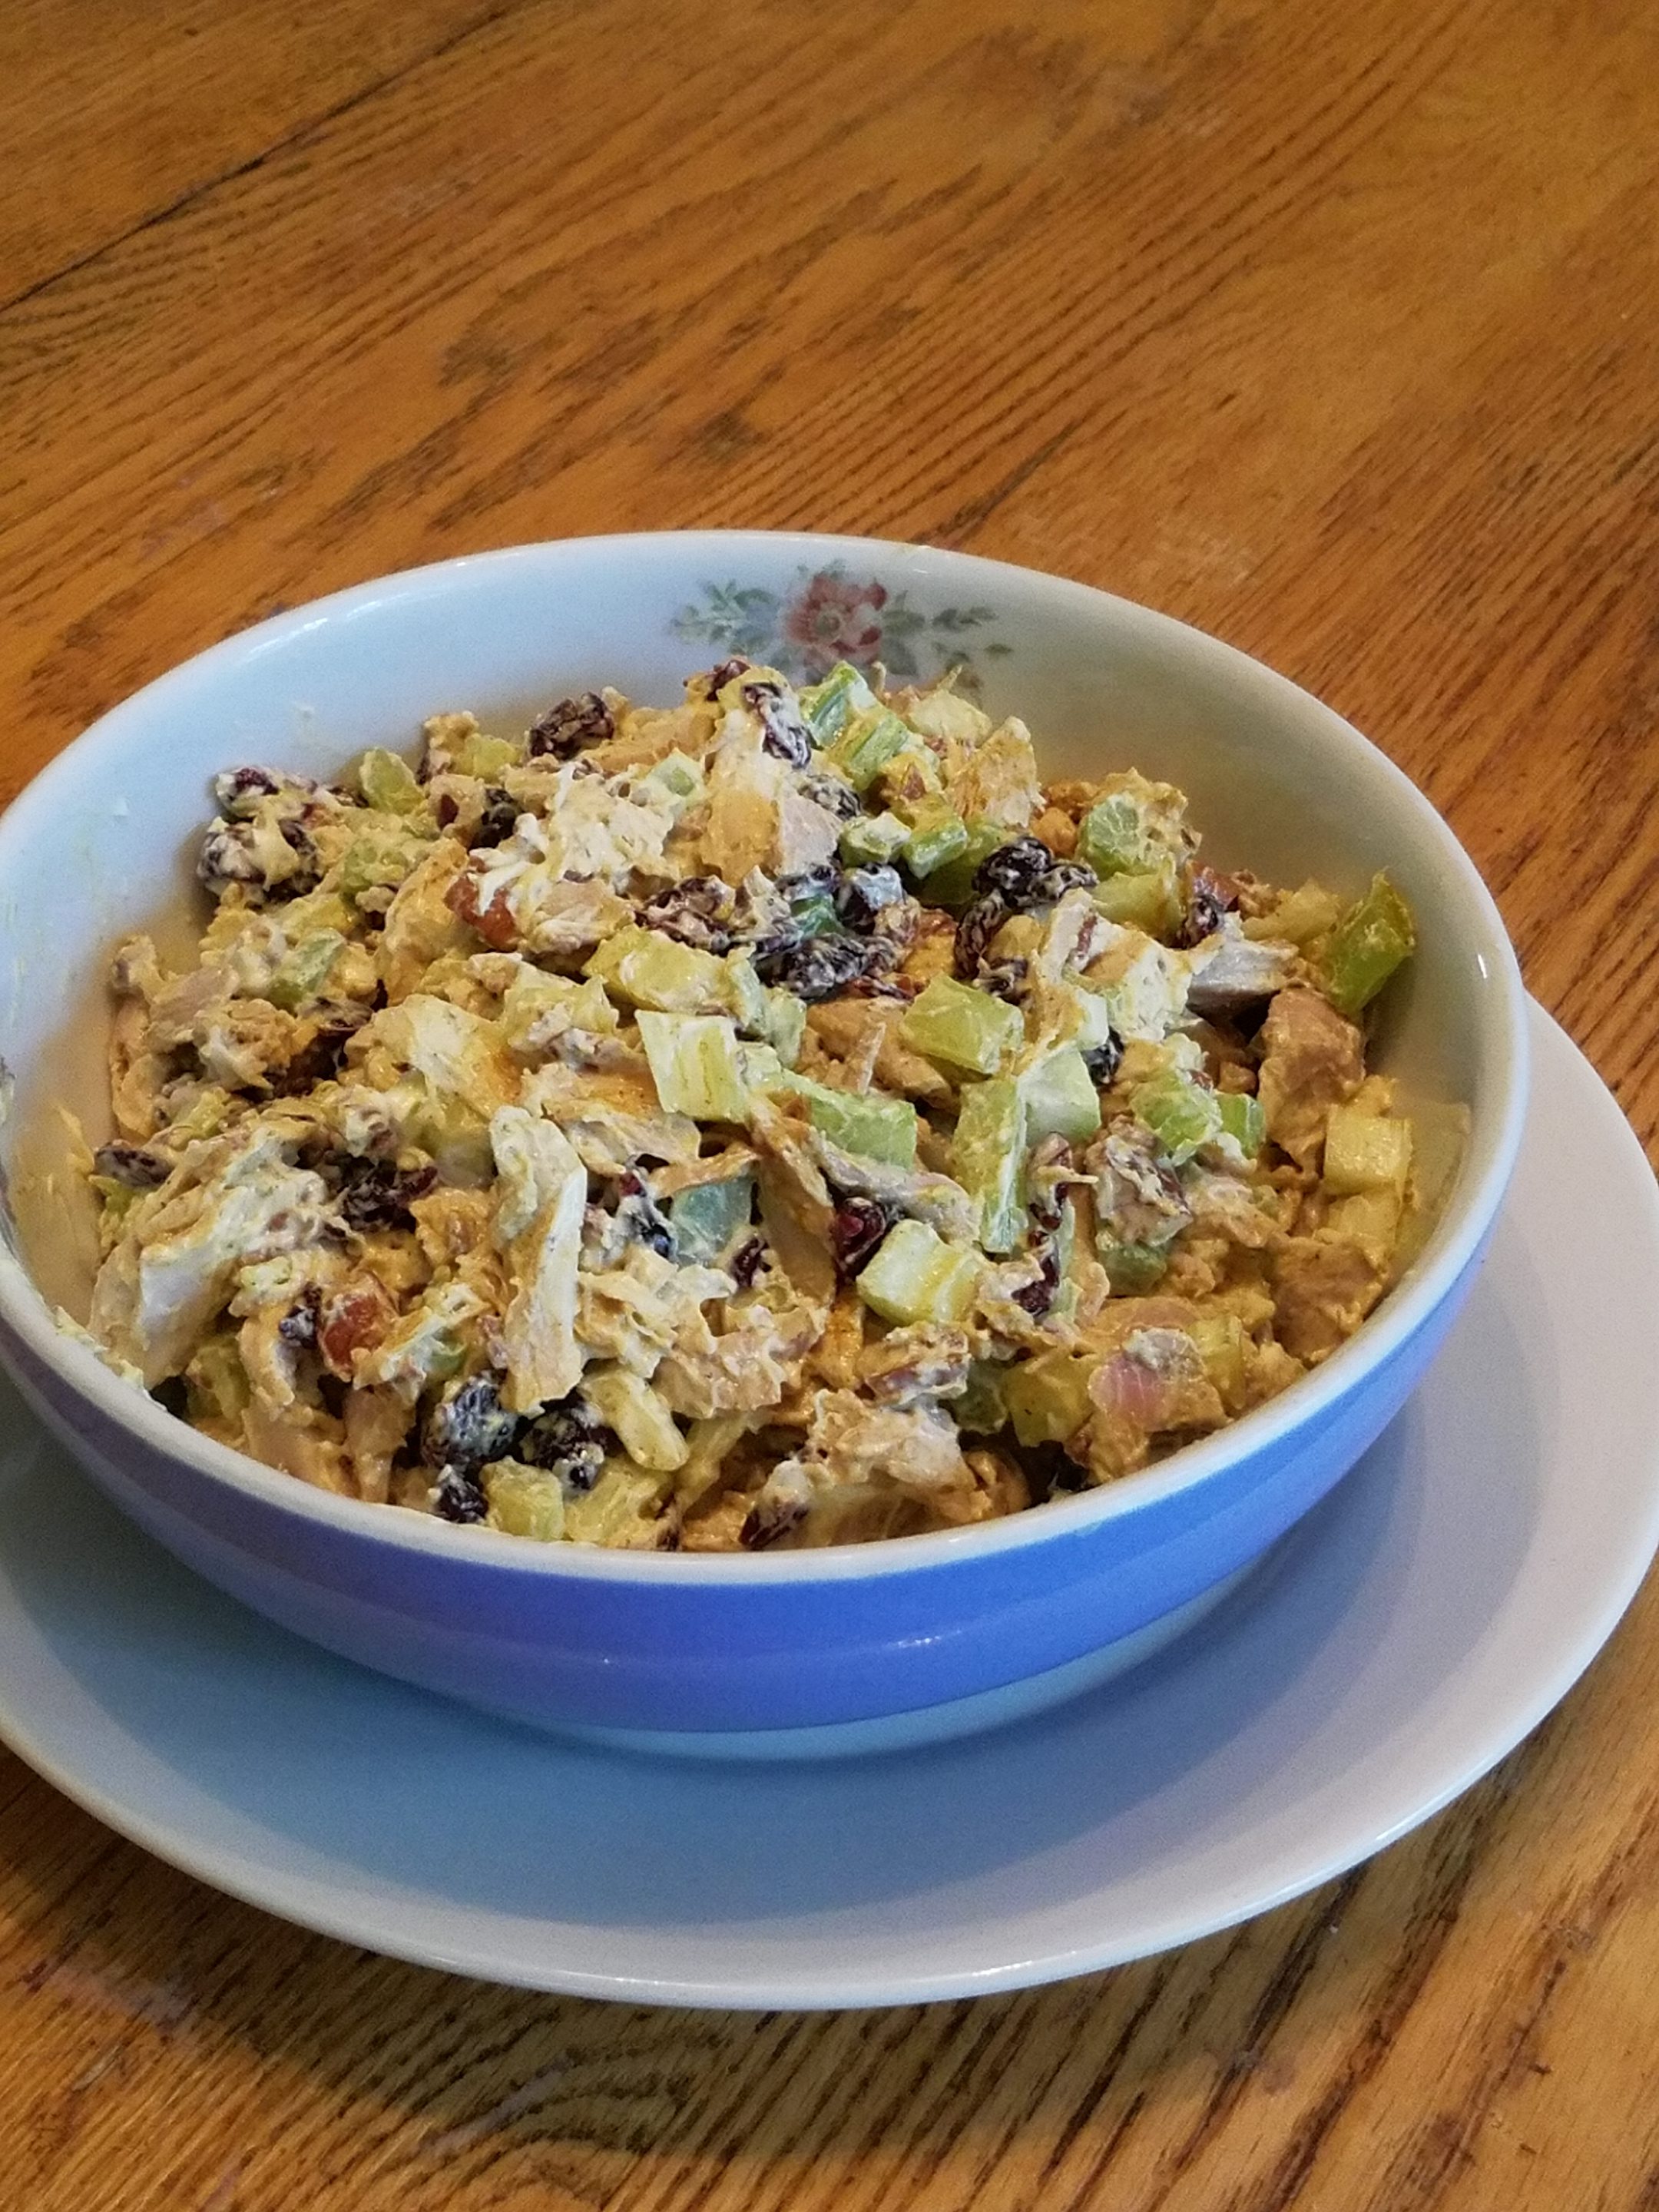
When planning my four-day chicken challenge, I wanted to include a salad.  But not just any plain salad.  No thank you!  Ours  had to have excitement–some zip and zing.  My curried chicken salad fits that description perfectly.  It has flavor, crunch, a hint of sweetness, and is just the thing for a warm summer evening.

I served our on beds of dark, mixed greens, but this would also make a nice sandwich filling or would be great on crackers.  An added bonus:  the longer this sits the more the flavors meld together which makes for some pretty delicious leftovers.  Here’s the recipe.

Curried Chicken Salad

4 cups of cooked chicken

1T curry powder–some people like more so adjust to taste

1 cup of raisins or dried cranberries.  David isn’t a fan of raisins, so I used the cranberries.  He loved them.

2 cups of chopped celery

1 cup pecans or almonds, roughly chopped–I toasted my pecans in the oven for 10 minutes at 350 degrees to give them extra crunch

1 cup mayonnaise

Put the chicken in a large bowl and add the curry powder, stirring to coat.  Next, add the cranberries and finally, the rest of the ingredients.  Stir to incorporate.

Chill or serve at room temperature.

Yield:  6-8 generous servings

Now I need to tell you about my OOPS!  Yesterday, I took some leftover salad to work for lunch.  Then, distracted by other things, I mindless stuck it in the microwave.  Groaning, I thought, “Well, why not give it a try anyway?”  It was delicious–kind of like a curried chicken casserole.  I think if I ever made it on purpose though, I would add a bit more curry.  You know the old idea…accidents can lead so some pretty great inventions.

Tomorrow I’ll wrap up my four-day challenge with an old traditional standby, Chicken Soup.  Send me your recipes and ideas so we can continue to learn together.

And since chicken is on your mind right now, don’t forget to order your meat birds.  It’s time to start filling your freezer for the months ahead.


Day Two of “The Four-Day Chicken”: Chicken Enchiladas

My husband considers Mexican cuisine to be a food group.  So Day Two of my four-day challenge had to feature something spicy.  Meet the Chicken Enchilada…a great way to use part of my leftover roasted chicken.  I have had this recipe for years and have served it to many guests.  It yields a large pan of cheesy, chicken goodness.

Chicken Enchiladas

1 medium chopped onion

4-oz. can chopped green chilies

1 tsp. minced garlic

 3T chicken broth

1 T cornstarch (I used arrowroot powder)

1T flour

14 more ounces of chicken broth

2 cups cooked chicken

2 c. shredded mozzerella

10-0z. can diced tomatoes and green chilies (drained)

2 c. sour cream (I use plain yogurt)

1/4 c. chopped, seeded jalapeno peppers, if desired for extra heat

10 flour tortillas

Combine 3 tablespoons of chicken broth, the garlic, and the onion in a saucepan.  Cook until soft.  Add flour and cornstarch or arrowroot, 14 oz. of chicken broth, and the green chilies.  Wisk until bubbly and smooth.  Add the cooked chicken and remove from the heat.  In a large bowl, combine the diced tomatoes, jalapeno peppers, sour cream or yogurt, and half of the cheese.  Then add the heated chicken sauce, stirring to combine.  Make the enchiladas by spooning the sauce onto each tortilla, rolling them and placing them in a baking pan.  My 11 x 13 pan works well for this.  Pour the remaining sauce mix over the rolled up tortillas.  Sprinkle with the remaining mozzerella.  Bake at 350 degrees for 30-45 minutes.  Serves about 10 portions.

On Sunday, we served this with chips and a heated seven-layer dip made by my daughter, Rebecca.  Yummy!

Then, David and I feasted on the leftovers–which gave us at least two more lunches and certainly satisfied his cravings for heat and spice.

Join me tomorrow for another flavorful idea:  Curried Chicken Salad.  See you then!

The Four Day Chicken

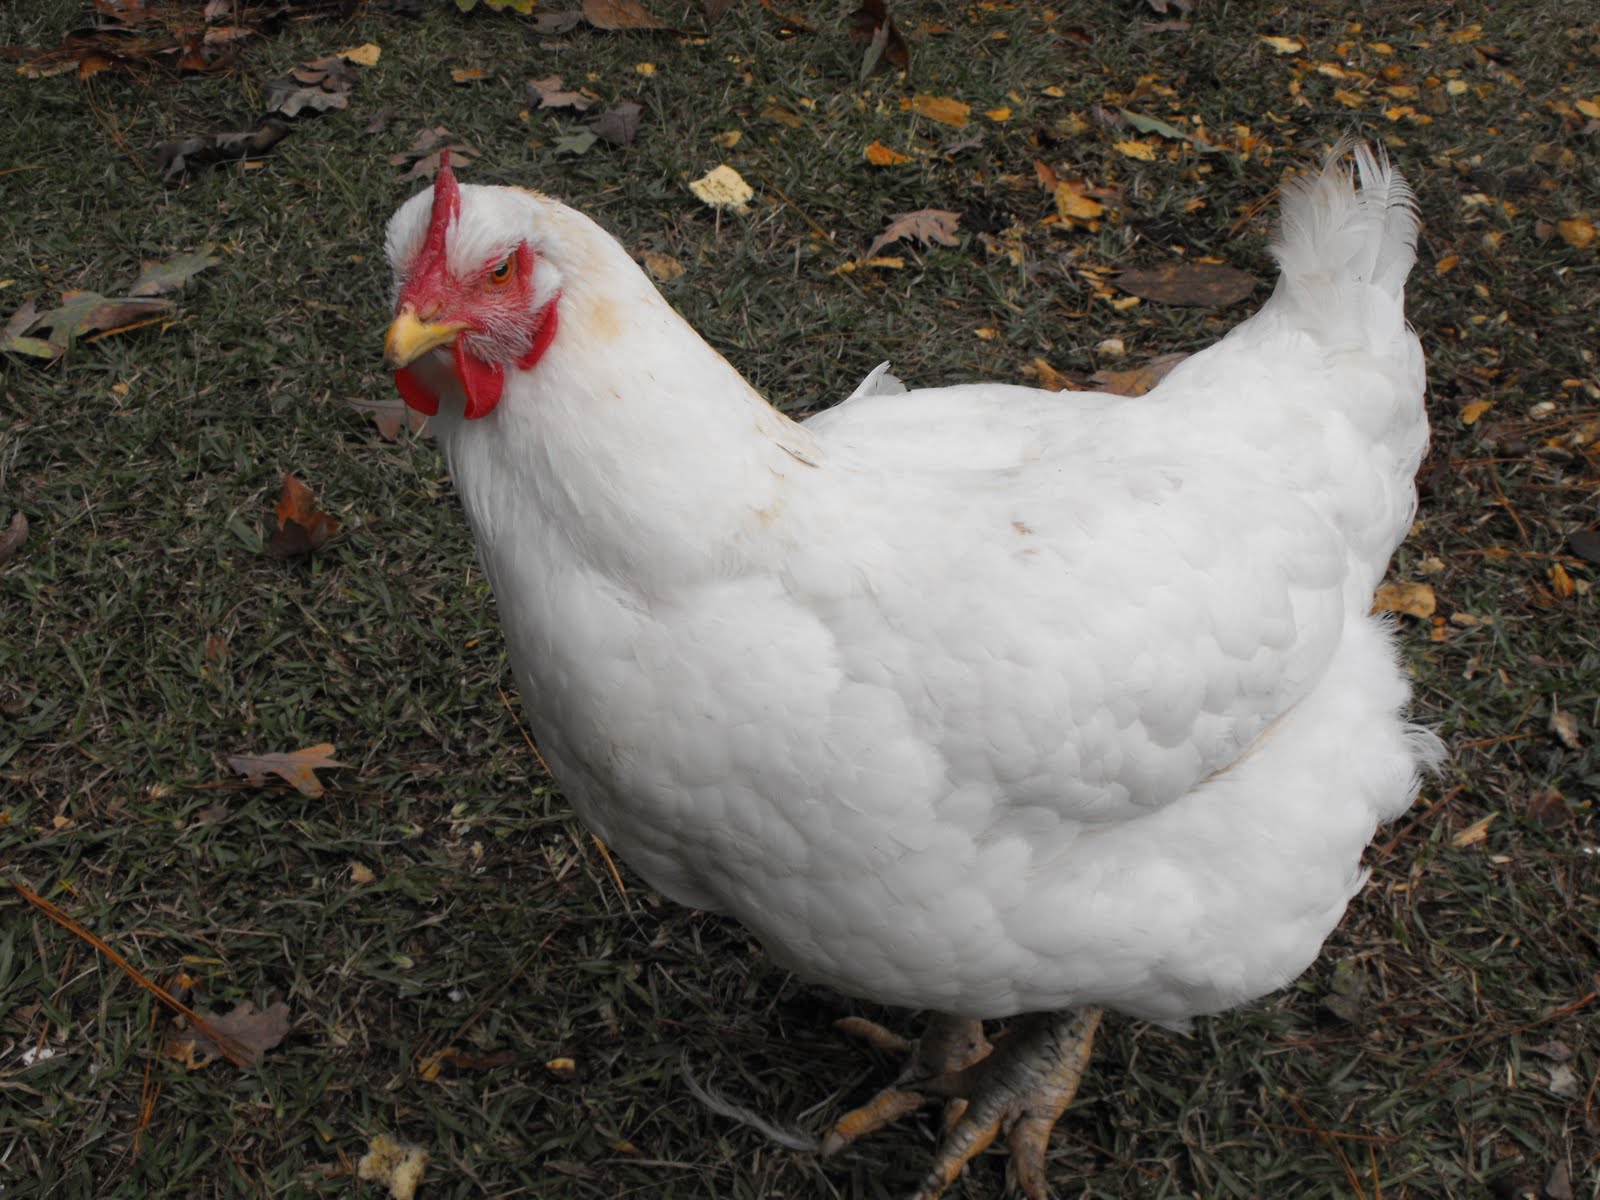
Welcome to a four part mini series on….chicken!  Our latest butchering day was Friday, and what beautiful birds they turned out to be.  In the infamous words of one happy customer, “Wow!”

Last week, I also offered a challenge:  Is it possible to increase the value of my meat by making four meals out of a single chicken?

The answer?  Yes, I could…and I did.  Over the next 4 days, I will show you how.  In the meantime, send me your own ideas and recipes so I can share them.

Delicious nutrition and value for my purchase?  Now that’s something to crow about!

Day One:  Robin’s Roasted Chicken

Over the years I have learned a few tricks for roasting the perfect chicken.  Your bird will turn out juicy and full of flavor, and this is and so easy.  Here’s what you will need:

A whole chicken….mine was around 6 pounds

1-2 tsp. 0live oil

Salt and pepper

1 tsp. thyme

2 stalks of celery, including the leaves, cut into large chunks

Perhaps an onion, quartered

An orange and/or a lemon, quartered

The first secret is to season your bird the night before you plan to roast it.  Massage the entire bird, including the cavity, with 0live oil and a liberal amount of salt, pepper, and thyme.  Place the bird in a pan or large bowl, cover with plastic wrap, and refrigerate.

On roasting day, allow the chicken to come to room temperature.  Meanwhile, set your oven temperature to 450 degrees, and just before roasting, stuff  the bird with the celery, onion, and fruit.

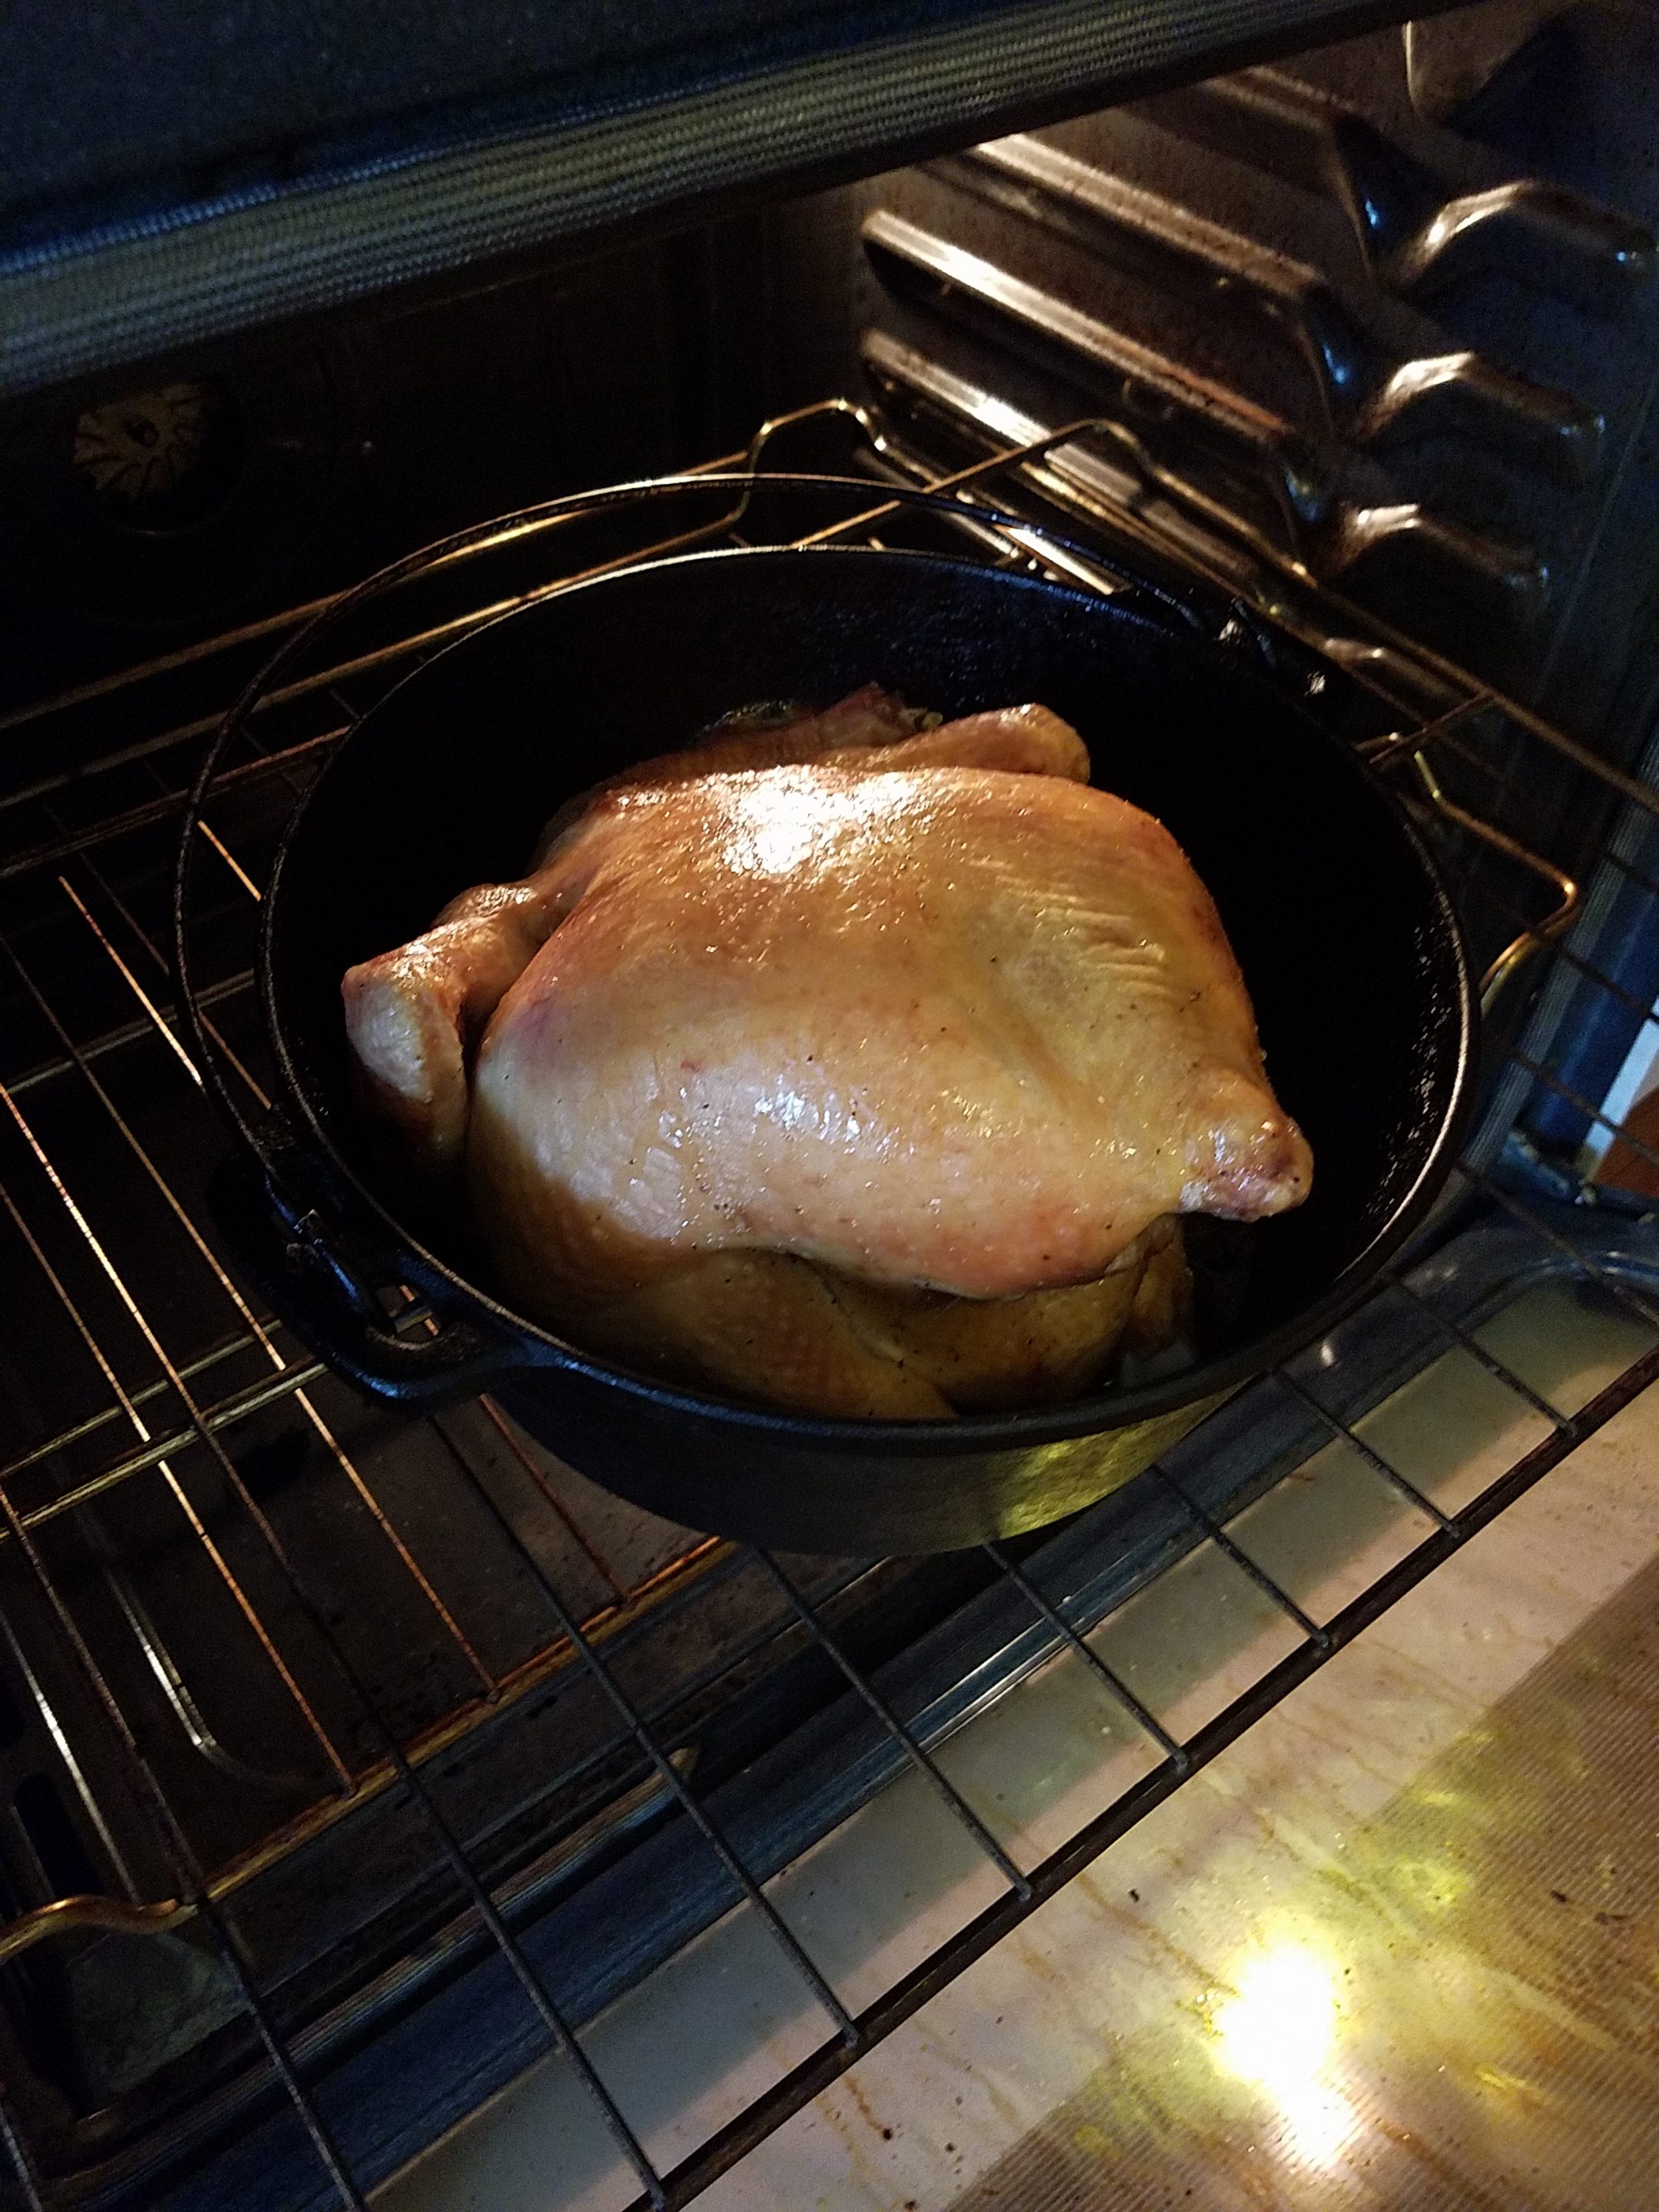
The second secret is choosing your roasting pan.  Some people place their bird on a rack which rests on a cookie sheet.  I have tried that with success but I think it tends to dry out the meat.  Now I use a cast iron dutch oven.  Not only does the meat stay moist but the iron holds the heat oh so well.  I put my empty pot in the oven to heat as the oven temperature rises.  When the oven reaches 450 degrees, I add the chicken, leaving the cast iron cover off.

Now, I set my timer for 40-50 minutes, choosing the extra time for a larger bird like this one.  I am watch for a nice even browning, and when I see it, I know it is time for the third secret.

After 50 minutes, my chicken is golden brown.

Cover your bird with foil, or in my case, the lid to my dutch oven, and turn your oven completely off.  Allow the chicken to rest in your oven undisturbed, for 2 hours.  You have essentially created a slow cooker that will gently bring your bird to perfection.

When I cooked Saturday’s chicken, I had vegetables to roast, too.  So about an hour before I served dinner, I pulled my cast iron pot out and set it on the stove top (covered of course) while I cooked the vegetables for 30 minutes.  Then, I turned the oven back off, put the vegetables on the bottom rack of my oven, and the chicken pot on the top rack to finish for another 30 minutes.  It worked well.

Before serving, discard the celery, onion, and fruit. You now have a beautifully roasted chicken that can be used in countless delicious ways.  Tomorrow, I’ll share one just one.  What will you do with yours?

Roasted Chicken and Vegetables


Real People Want to Make Cheese


To be able to offer my friends and customers “raw” food basics like chicken, milk, and eggs in their purest, most nutritious state, is a delight.  These truly are building blocks for healthy living.  But like you, as I hold those eggs in my hand, and look at my milk jug, my mind  searches for new ways to use them.  And so I scour the internet and talk with others, looking for ideas and recipes.

Often what I find is highly impractical for most folks.  Take cheese recipes for example.  If you are already paying a golden price for your share of milk, every drop is precious.  Who needs a recipe that calls for 2 gallons of milk?  Probably either someone who own goats or someone who only wants to make cheese.  For many, it seems more practical to drink the milk and buy the cheese.

This leads me to a new resolve:  to find and share information and recipes that can be made in any home.  So once or twice a month, I will do just that.

To accomplish this goal, I would love your input.  What do you do with eggs and milk? How do you stretch your pastured chicken?  What new dishes have you tried and enjoyed?

Let’s create a forum for sharing recipes and ideas, using healthy ingredients in practical but delicious ways.  Here are the guidelines.  Every couple of weeks, I will name a topic.  Submit your ideas to me and I will share them, one or two at a time.

Since Friday is our next Chicken Pick-up Day, let’s start us with, “The 4-Day Chicken”.   What are four ways you can use your delicious bird?  In next week’s article, I will share what I did, and then you can tell us about your cooking magic.

Real ideas for real people…now that sounds downright neighborly.

Furry Varmints!

Rats!  I really mean it!  Rats!

Last year, we were invaded by furry little beasts who had discovered a delectable banquet of animal feed to feast upon.  Store-bought traps?  No effect.  Super-cool, Youtube-inspired trapping devices?  Nope.  Poison?  Somewhat.  Aha…barn cats!!  Now we are making serious progress.  This has helped in the big barn.  But then there is the chicken barn.

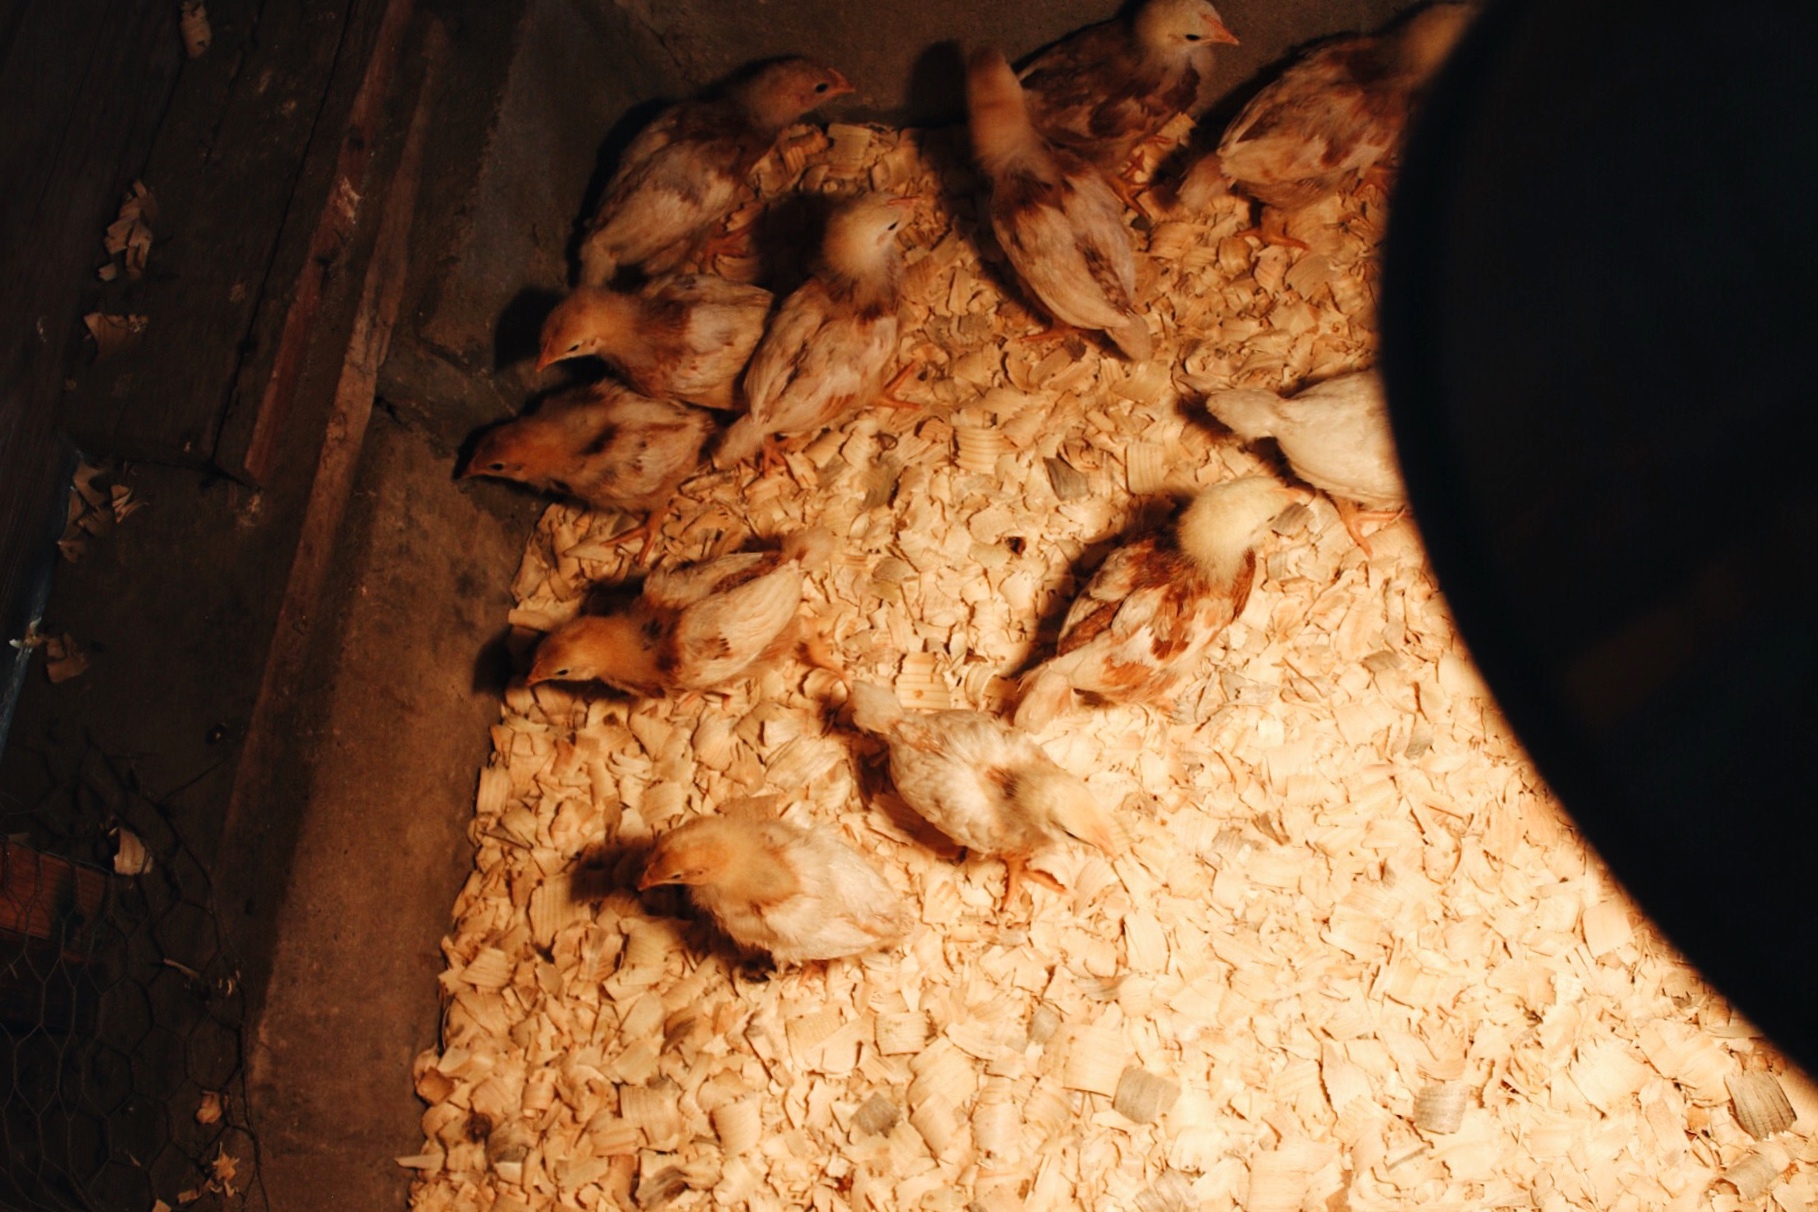
An old worn-out garage houses our up-and-coming hens-to-be and our meat bird brooding pens.  Perhaps being pecked and trampled by 36 young hens has convinced the rats to leave them alone.  Instead, the pests have set their sights on the babies.  And so we are at war.

My husband and Hayden, our new friend and helper, have tried to stay a step ahead by building tightly wired pens with cement floors but…they missed a hole.  Only a few hours after introducing our newest and largest flock to their home, I went in to check on the tiny birds and gasped in horror.  Our flock had been reduced by over a third.

Muttering, “Oh no!  Oh, no!” as calmly as I could, I gently transferred the survivors into a newly finished–and fully protected–pen, and wrote a note to my sleeping husband.

“I Really Hate Rats!” he declared the next day as he grabbed cement and a trowel.  I found his reaction to be rather calm…

Not to worry, meat bird customers…the remaining chicks are alive and well; replacement chicks have been ordered; and the hole has been filled with cement–along with every other crack and crevice David could find.

I have two reasons for sharing this sad story.

First, when my web designer and I were setting up this site, she encouraged me to share the good, the bad, and the downright ugly.  Since transparency is one of our foundational life principles, I readily agreed.  When you own a business, especially a farm, some days are delightful and others are downright nasty.  What will you do with such days?  Will you throw up your hands and walk away or declare war and grab the cement?

The second reason for sharing is to let you know that we had to make some changes to our September butchering plans.  We added a few extra days to allow the remaining flock to settle down and grow.  And, we added a fourth Pick-Up Day to accommodate the replacement chicks.  We will now have meat chickens available on Tuesday, September 5 and Tuesday, September 19.  You will find these changes on our ordering pages.

We have only a few chickens available for August 4 pick up.  If you haven’t ordered, now is the time.

And as for you rats, we have planned a secret weapon for you…Manny, the exterminator, is on his way.


Freedom

Each week I eagerly write about chickens, and goats–what-to-buys and what-to-dos.  But occasionally, it seems appropriate to switch from “telling and selling,” to “thinking and thanking.”

Several years ago, we spent some time in a third world country where the poor still live in garbage dumps and the rich live in houses surrounded by barbed wire and machine-gun armed guards.  Our hosts, who were considered wealthy in their town, sparsely furnished their home with furniture we would consider garage sale quality.  They gladly cooked all day to provide our meager meals of tortillas, beans, and rice.  I will never forget watching children in one remote village where we served, playing delightedly with a plastic bag that once contained the ration of rice we had brought for them.  The bag was their new toy, and they were both grateful for it and content with it.  What I witnessed was life changing and I returned to our United States of America with a new pair of eyes.

I have so much.  I live in a country where I am free to dream a potentially reachable dream,  freedom to choose my lifestyle, my occupation, my home, and my food.   No one tells me what to raise on my farm; I have no government-regulated quotas to fill; I can grow and raise as much as I want and then stop if I choose.

Through the sacrifices of others I gained those choices–not only the freedom to pursue dreams and a lifestyle, but also the freedom to choose contentment:  to say, “I have plenty–in fact, I have more than enough.

So as we stop to celebrate our nation’s independence, won’t you join me by stopping to think and thank?  In this nation, imperfect as it is, what do you have for which you are grateful?  Who paid the price for your freedom?  For your choices?  For your plenty?  Somebody did.  Have you thanked them?

To all of you who have joined hands and hearts to preserve and protect this great land, we at Love Led Farm say, “Thank You!”

Happy Birthday, America!


Let’s Start With Yogurt

You have found a source for fresh goat milk and have been drinking its sweet, refreshing goodness. And now you are looking for other ways to incorporate it into your diet.  Why not start with yogurt?   It’s cold, creamy and oh so good for you.  Plus, it is easy to make—you simply culture the milk and in the process, add all sorts of beneficial probiotics.

Search “making yogurt” on your computer and you will find countless recipes and methods.  We eat a lot of yogurt but like you, I don’t have much extra time.  I wanted a reliable, no-fuss method.  Joe, my goat-herding brother-in-law, recommended a yogurt maker with 7 little cups.  The accompanying recipe only called for 42 ounces of milk which left plenty to drink, so this simple-to-operate machine worked well for a few months.
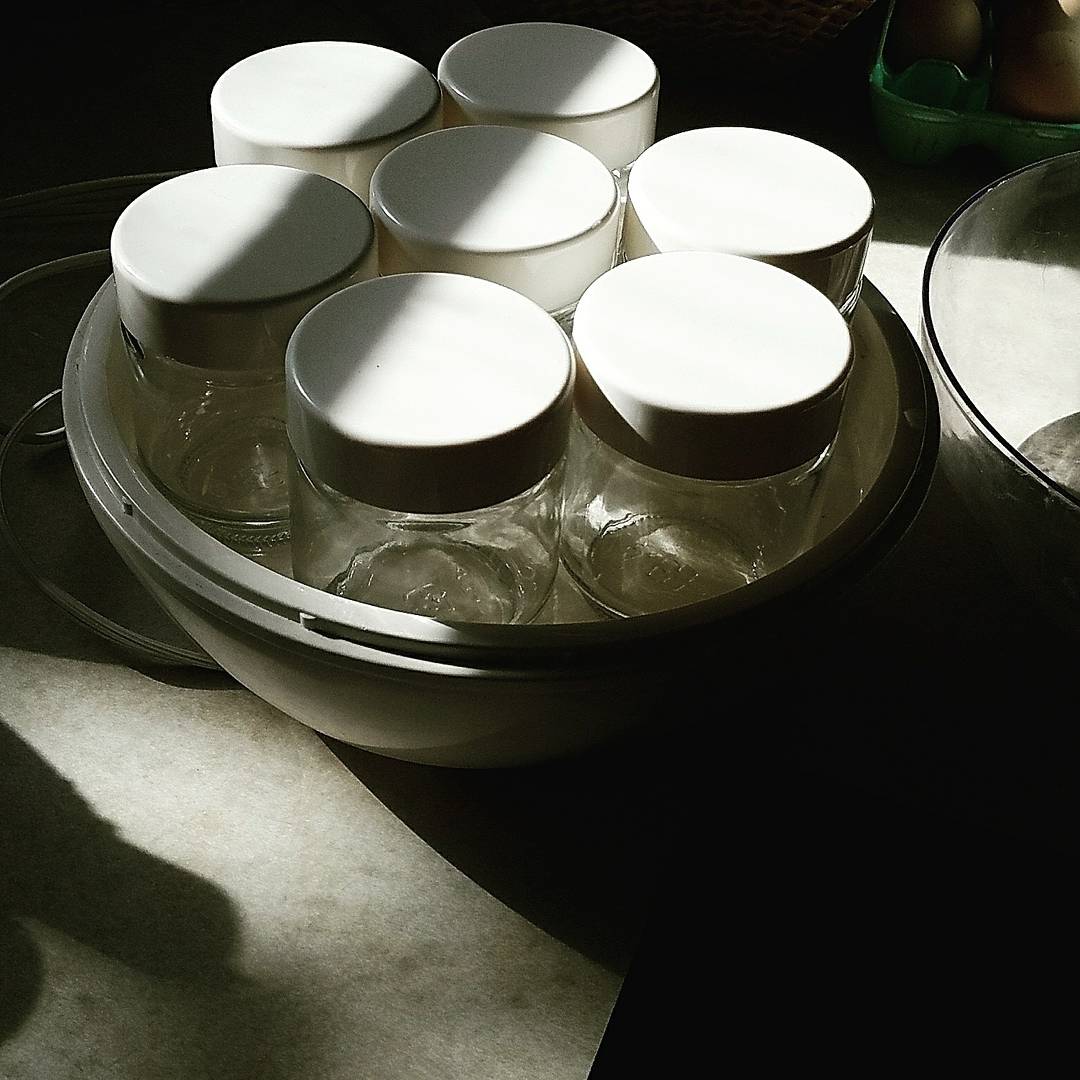
As winter approached and milk production began slowing down, I needed to find a way to continue providing for our yogurt needs and began freezing milk in one batch portions.  There were hurdles.  First, I had to remember to thaw the milk in advance which was frustrating when I forgot.  Second, although goat milk freezes well, the fat tends to separate.  Although I would shake the milk to reincorporate the fat clusters, my yogurt seemed to end up runnier.  I wondered:  Wouldn’t it be easier to actually make the yogurt and freeze it in quart-size containers?

The small jars became cumbersome, so I went back to Amazon and found an inexpensive, 2-quart yogurt maker made by Dash.  It has an adjustable timer that shuts the machine off when the cycle is finished.  I can set it in the morning or evening and not have to be constantly watching a clock.  The maker also comes with a second plastic bucket and a strainer.  To make a thicker, Greek-style yogurt, you simply pour a batch of chilled yogurt through the strainer.  The bonus is that this separates the highly nutritious whey, which can be used in many ways–an article for another day.

Although my new yogurt maker comes with its own recipe, I adapted the one I was already using and found that it works just as well.  Before giving you my recipe, here are a few extra ingredients and tips that I have found helpful.

Dry Milk Powder  Use milk powder (not non-fat instant) to thicken your yogurt. Some recipes suggest 1 cup but we are satisfied with 1/2 cup per batch.  Test it until you find the consistency you like.   I buy mine from an Amish bulk foods store but you should be able to get milk powder at many local stores or even online.

Culture  Yogurt, like sourdough bread, needs a starter.  Some people use a yogurt starter or plain store-bought yogurt.  I use an actual yogurt culture from www.getculture.com.  We like their Mild ABY-2C culture the best but they also offer one that creates a tangier yogurt.  You only need a tiny amount–1/8 tsp. per batch, so a small bottle of powdered culture lasts for quite a few batches.

Flavorings  I make two flavors of yogurt:  plain and vanilla.  Plain yogurt serves as a substitute in any recipe that calls for sour cream or buttermilk so it is nice to keep on hand.  Our “eating” yogurt is vanilla.  Just as I am ready to transfer my yogurt into the maker, I add a tablespoon of pure vanilla. When we are ready to eat it I can add whatever fruit, granola, and sweeteners I desire.

Raw or Pasteurized?  You will notice that my milk is never heated higher than 115 degrees.  This is because I choose to keep our yogurt raw to protect any friendly bacteria that would be destroyed by heat.  If you prefer to pasteurize your milk, heat it to 185 degrees first.  Then allow it to cool to 115 degrees before adding the culture.  You still need to add the dry milk at 105-110 degrees.  I recently read that heating it to 185 degrees allows the yogurt to thicken.  Although we are satisfied with our yogurt, if I wanted it to be truly Greek style, I would probably need to pasteurize it.

Thermometers  I started by using a candy thermometer and liked it because it came with a clip for the pan.  However, I found it difficult to read.  The style I like best has a thin probe and a digital display but no clip.  Now I use both.  The candy thermometer lets me know when I am getting close–the probe gives me perfect accuracy.
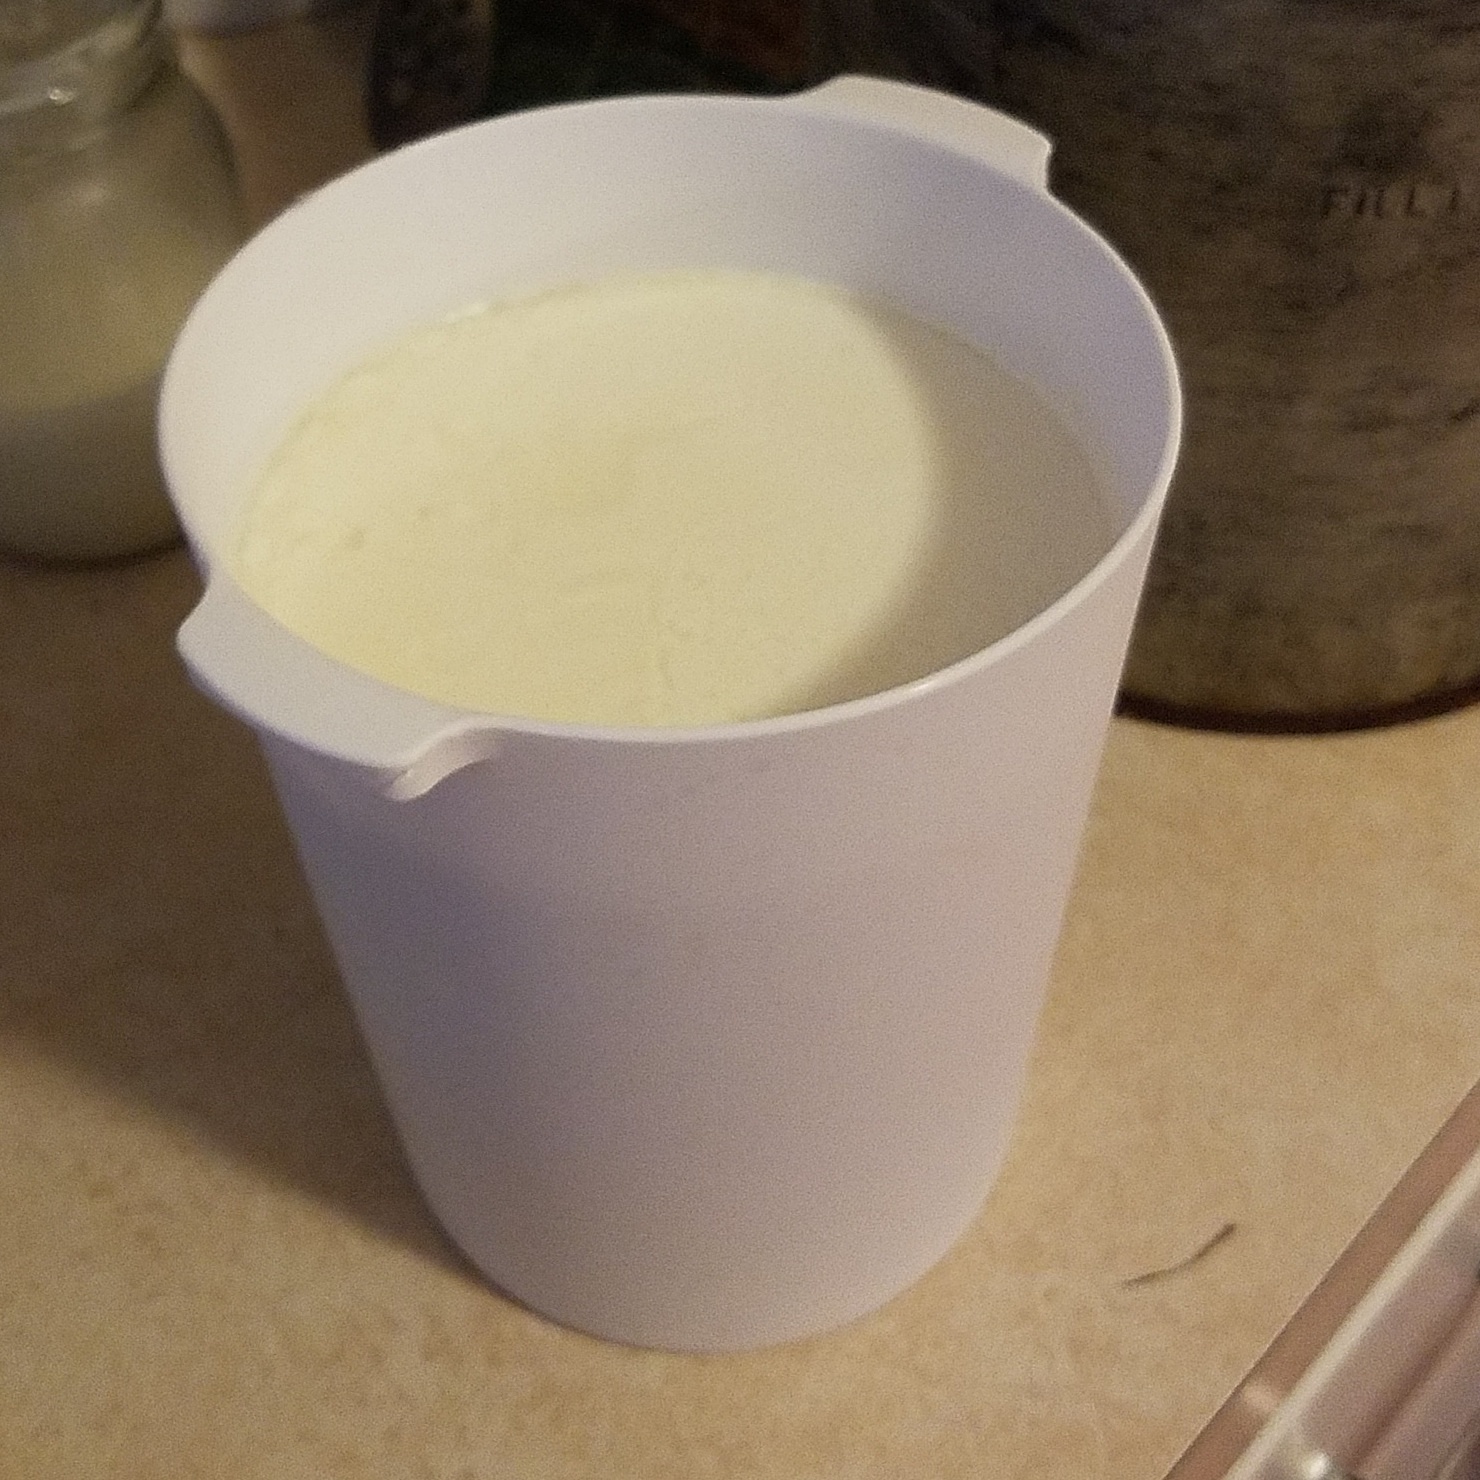
Cultured yogurt, ready to be eaten or strained

And now that your taste buds are salivating, here is my recipe:

Robin’s Yogurt

5 1/2 cups of raw milk in a heavy bottom, non-aluminum pan

1/2 cup powdered milk

1/8 tsp. culture

1 tablespoon of pure vanilla if desired

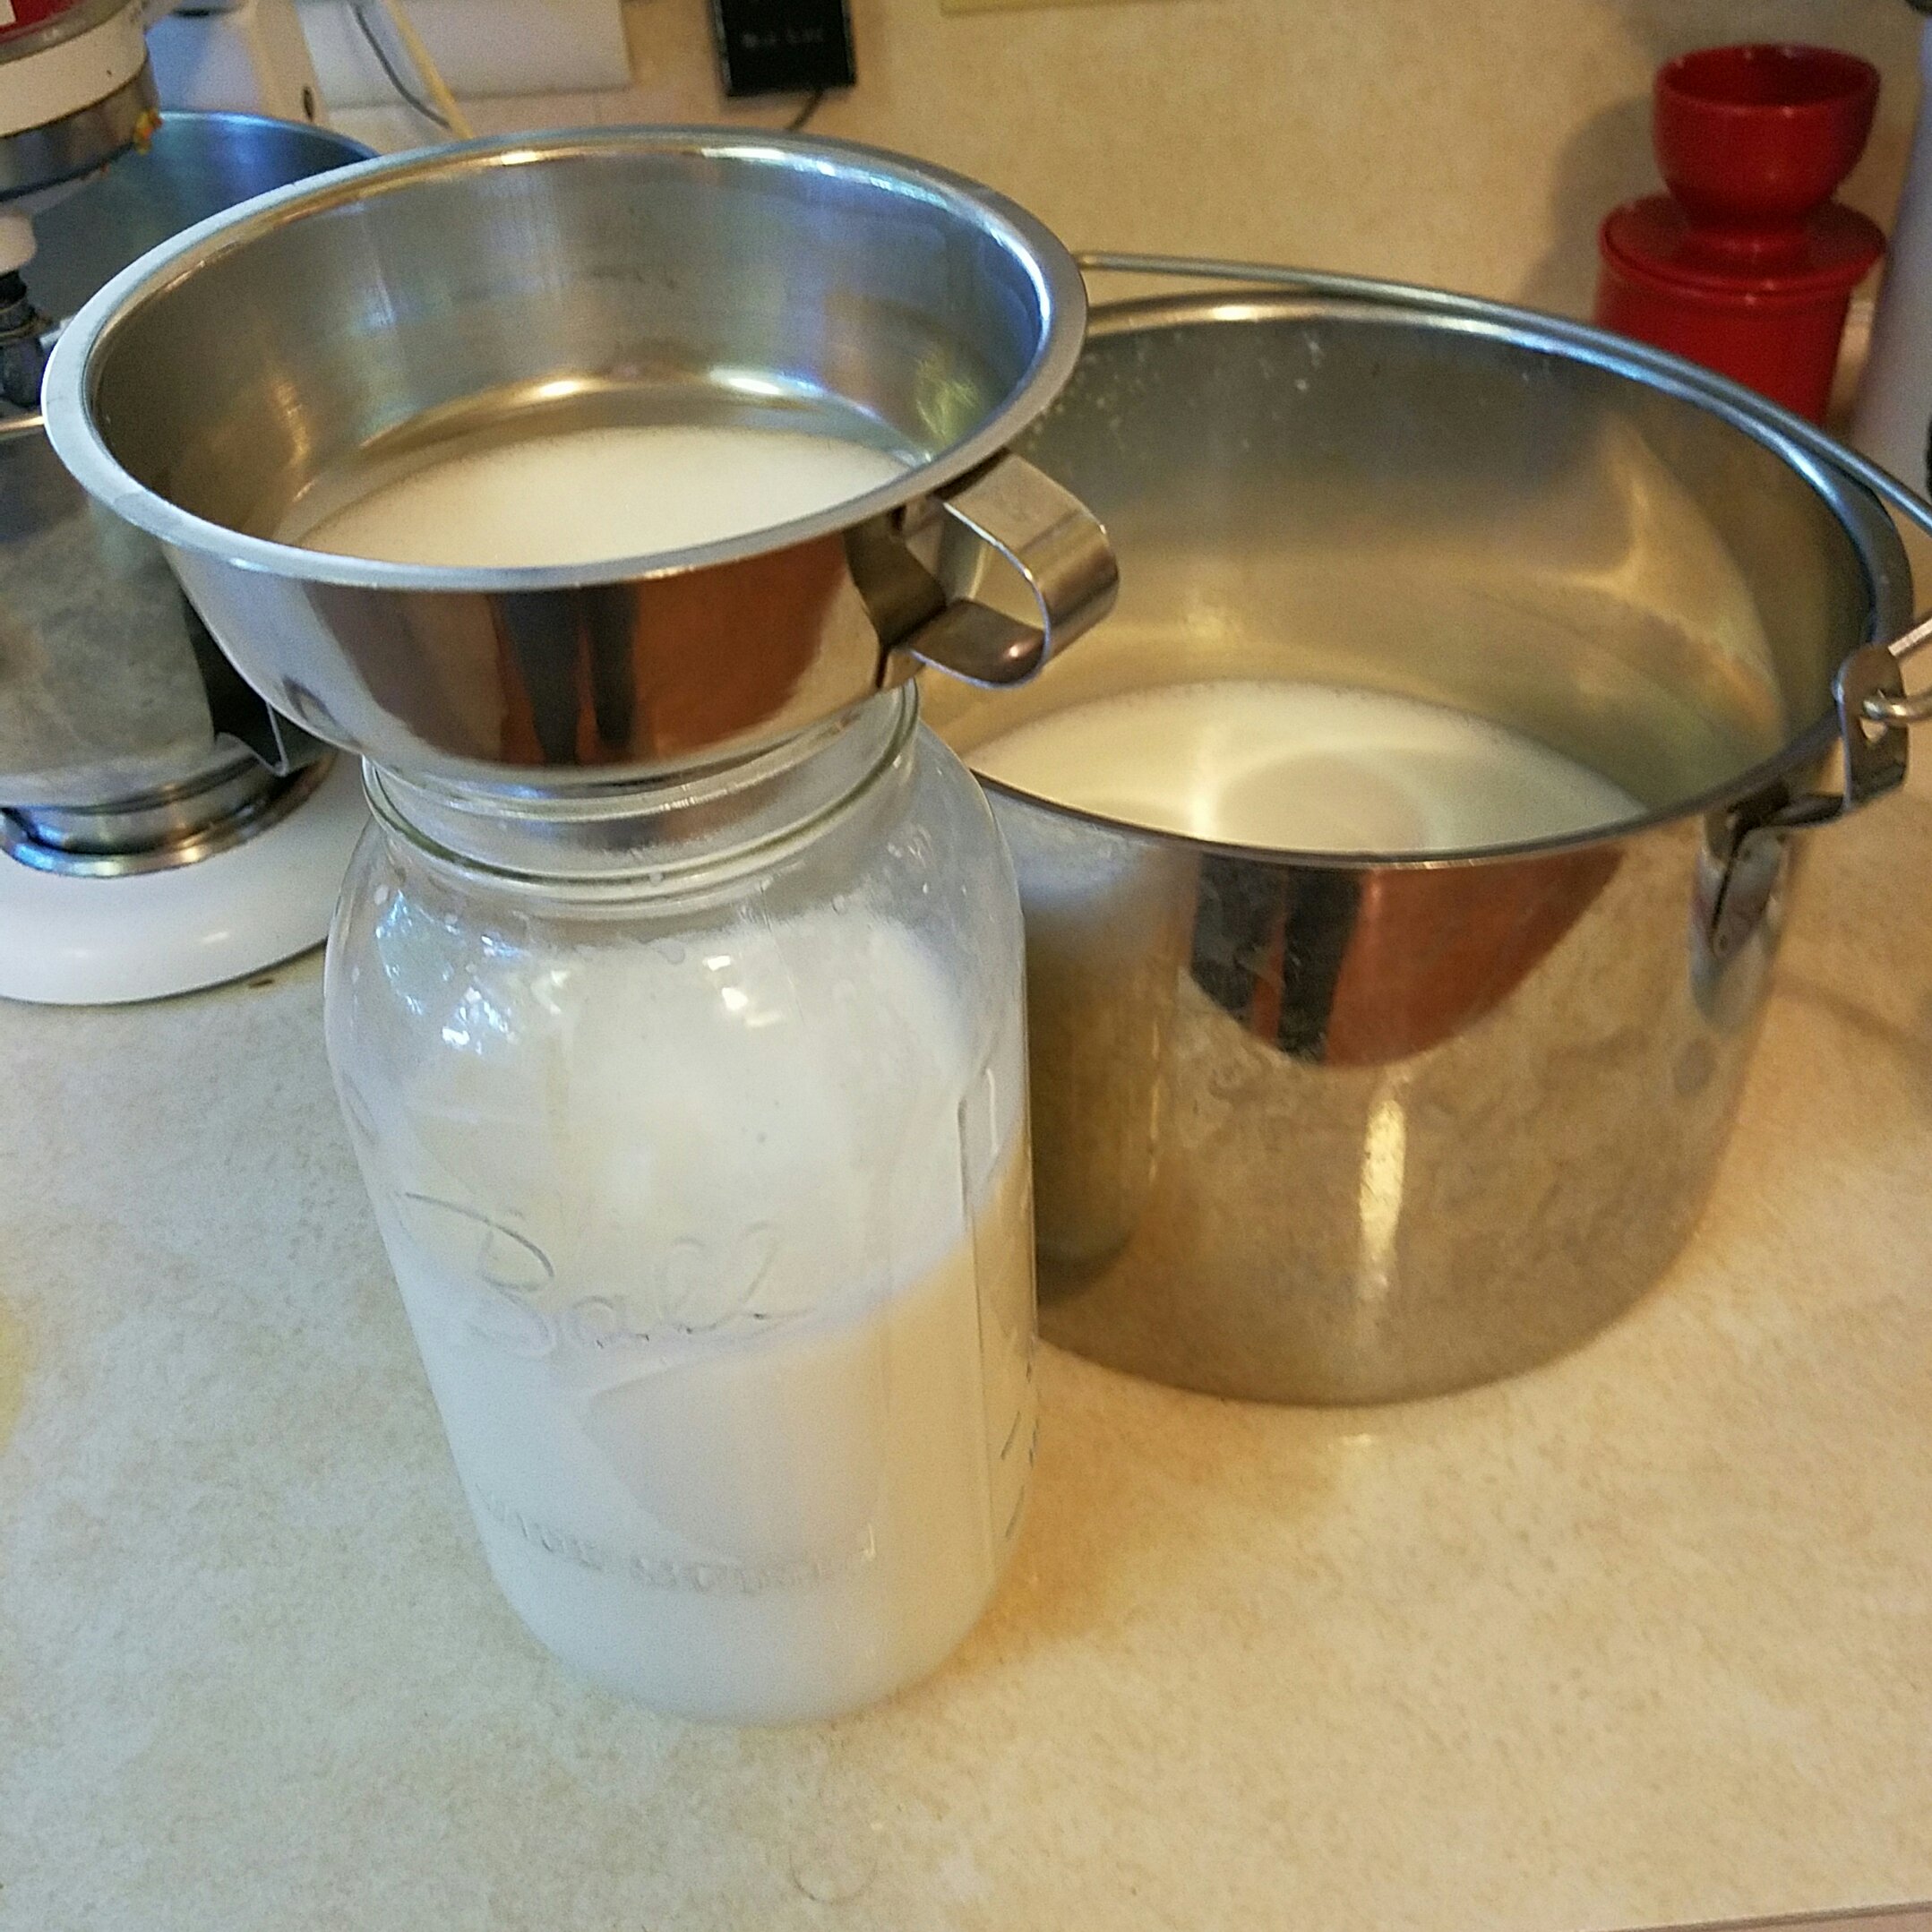
Slowly heat the milk to 105-110 degrees.  Remove from the heat and quickly stir in the powdered milk.  Continue heating to 115 degrees.  Remove from heat and add the yogurt culture, stirring thoroughly.  Add the vanilla if desired and pour the milk into your yogurt maker.  Do not add fruit or sweeteners at this point–wait until just before serving.  Set your timer or plan on culturing your yogurt for 8 1/2  – 9 hours. The longer you culture, the tangier your yogurt will be so experiment to find out what suits you.  After culturing, chill your yogurt for a few hours.  It will be fairly runny, which is great for sauces or soup.  If you want an thicker consistency, strain your yogurt after chilling.

This recipe will make almost 2 quarts of yogurt, however after straining, it will likely yield about 2 1/2 cups.

The versatility of homemade yogurt is only as endless as your imagination.  Plain, sweetened, added to a smoothie, used in a sauce or soup, it is comforting to know that you are adding value to your milk purchase and nutrition to your diet.

Goat milk yogurt with plums and ancient grain granola


Getting Your Goat….Milk

Congratulations!  You’ve done your research and are ready to try goat milk.  Where will you find it?

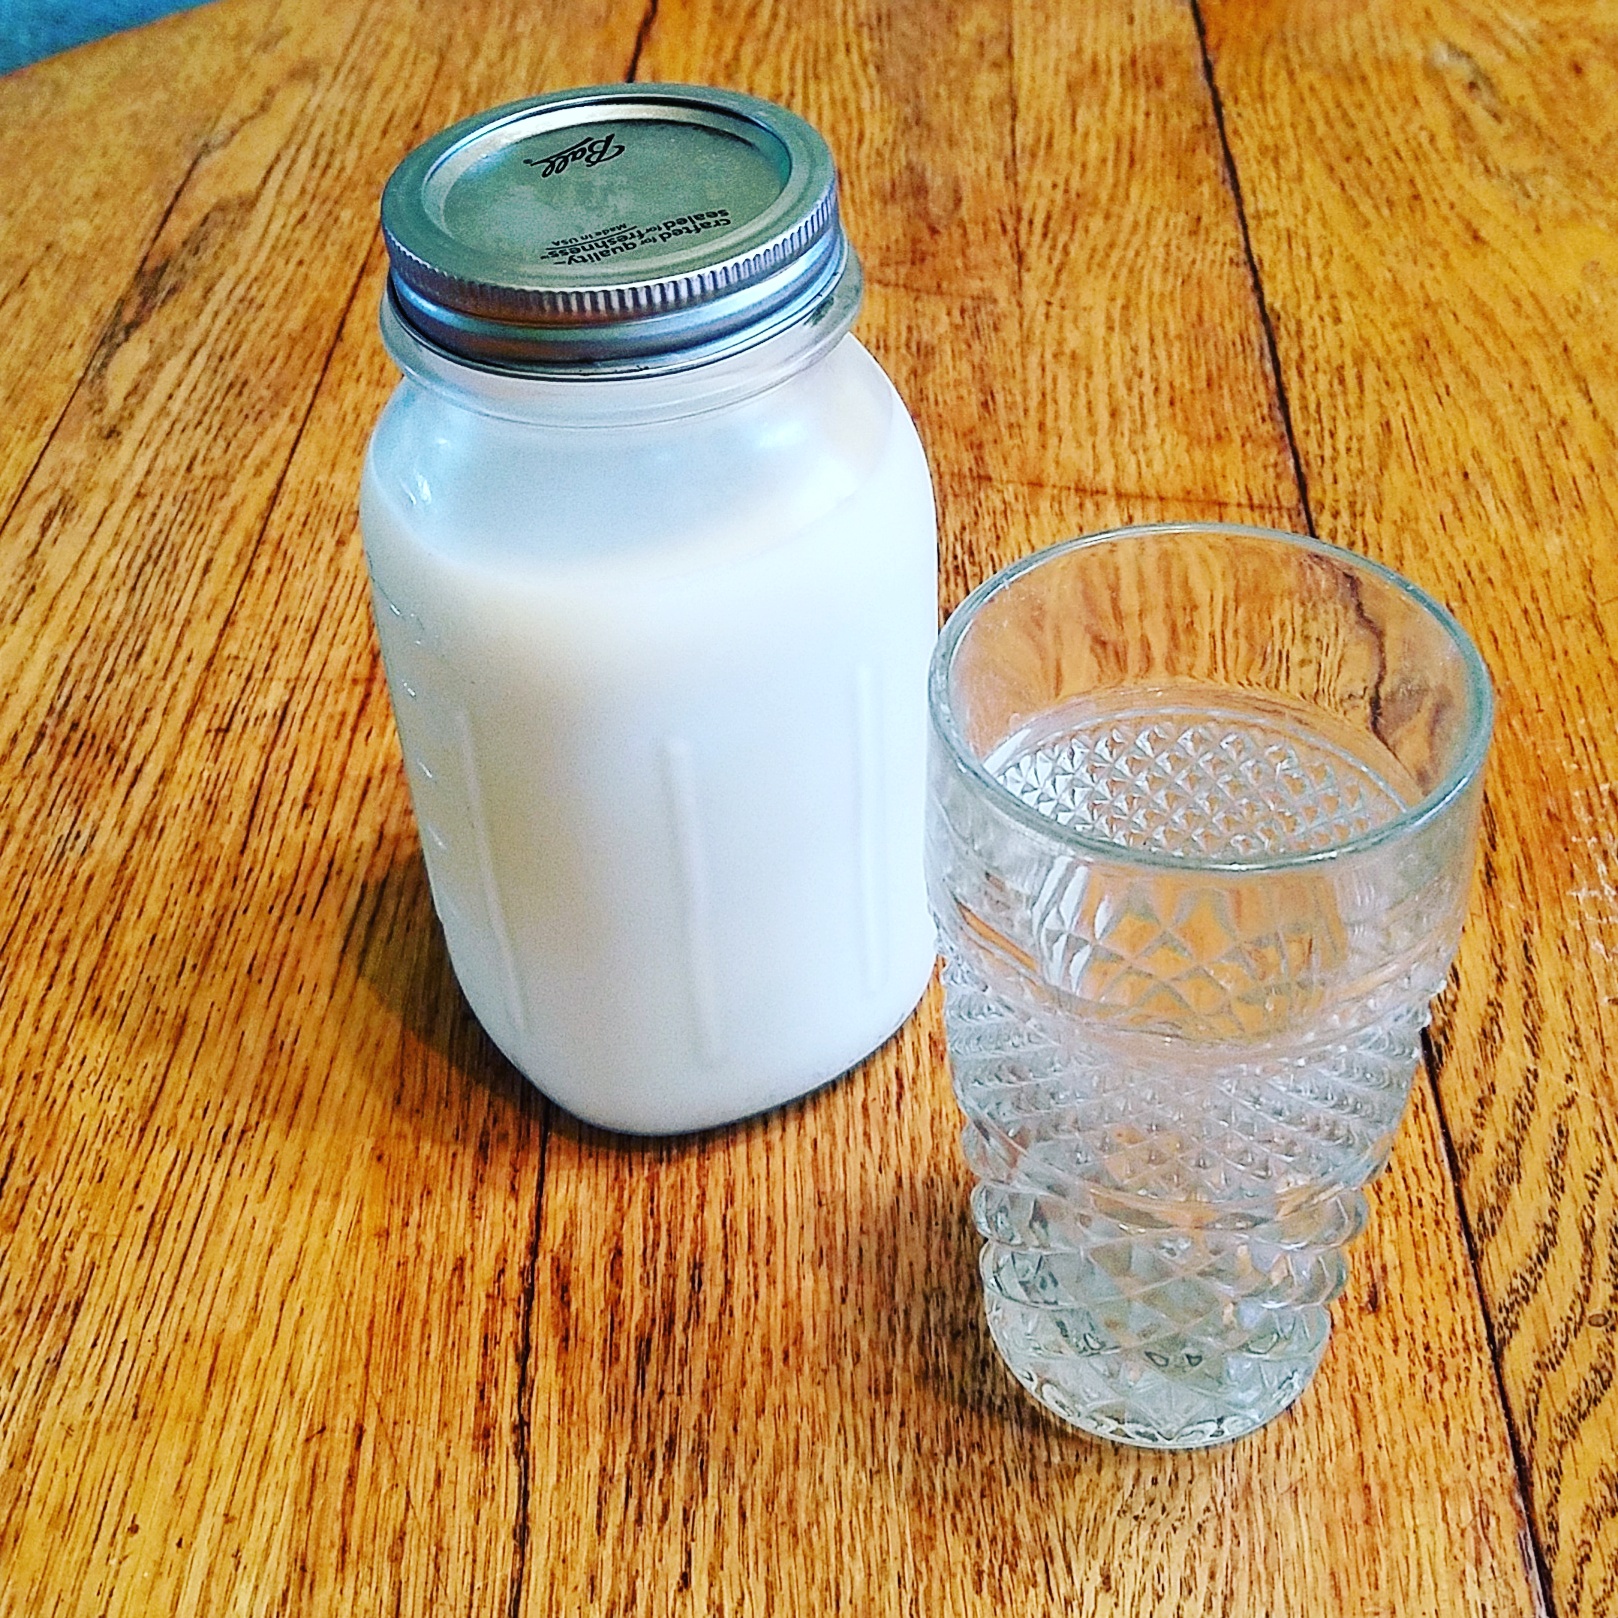
Cold, fresh goat milk

It depends on your choice:  pasteurized or raw?  If you will be using pasteurized milk, you will find it and other goat milk products in many stores as its popularity continues to increase.  Raw milk is another story.

If we lived in Oregon I could buy raw goat milk at the local grocery store or even from a vending machine.  In Nebraska, I could get it at a farm store; in Georgia it can only be sold as pet food; and in Montana it is illegal to distribute it at all.

In Michigan, we are able to provide milk for our customers through herd shares.  My customers purchase a goat or a “share” of a goat.  For a monthly fee I provide my services of boarding, feeding, and milking their goat.  Once a week, they come to the farm to pick up their portion of the milk.

Under Michigan’s policy, established in 2013 by the Fresh Unprocessed Whole Milk Workgroup, there must be a dated, written contract between me and each shareholder that covers at least these key points:

  • We must be able to directly communicate at any given time.
  • The milk can only come from our farm, and shareholders must come to the farm for their milk.
  • I am not required to be licensed and the state does not inspect our farm.  In return, the contract covers only the raw milk.  It cannot be  sold to shareholders in the form of a product such as cheese, yogurt, or butter.  These could be sold by me only if I were a licensed dairy.
  • The milk cannot be sold to a third party.
  • Our contract cannot in any way imply the sale of milk but must be written in a way that indicates the milk is already owned by the shareholders–they are just picking it up.

For help, I turned to the Farm to Consumer Legal Defense Fund,  http://www.farmtoconsumerlegaldefensefund.org.  This wonderful organization helps farmers like me with legal advice and services.  They kindly explained Michigan’s policy to me and then designed and wrote my contracts to meet Michigan’s requirements.  What a relief to know that as long as we abide by the rules, my shareholders and I do not need to worry that I might be shut down.

Although the regulations may seem tedious, they were written with good intent–for the health and safety of both the farmer and customer.  If someone were to become sick from our milk, the source of their illness would be easy to trace.

As you look for a producer of local raw milk, here are some helpful suggestions:

*Contact Farm to Consumer Legal Defense Fund.  On their website you will find a helpful, interactive, national map, called “Raw Milk Nation” that shows and explains each state’s raw milk policy.  The map is updated regularly as states continually review and revise their laws.  Contact FTCLD’s friendly, responsive staff for any questions you might have.

*The quality (and safety) of raw milk is based on these factors:  the environment and health of the goats; the diet of the goats; and the handling of their milk.  Before signing a herd share or even buying from a farm store, try to visit the farm and ask questions.  Are the goats clean and housed in a healthy environment?  Are they given any hormones or medications that would affect the milk?  Are the goats regularly tested for mastitis and any other diseases?  What are they fed?  What about the milking station–is it clean?  What happens after milking?  How is the milk handled?  Are you responsible for cleaning and sterilizing your own jars?

*Ask to taste a sample of the milk.  Does it have an “off” odor?  Is the flavor too “goaty?”  Fresh, raw milk if handled properly, should last at least a week before souring.

*Be prepared to abide by the rules.  Please do not ask the farmer to compromise on state regulations.  In Michigan, I cannot bring the milk to you and I cannot sell processed products to you.  Most farmers, including myself, work hard to gain respect from the state and from their community.  To be allowed to do what we love, our standards and practices must be above reproach.  Be a part of the solution, not the problem.

Have I piqued your interest?  Here’s some good news to sweeten the deal:  I still have herd shares available for 2017.  Call or email me to plan your visit to Love Led Farm and ask for a taste of cold, refreshing goat milk.

And now that you’ve found a local source for your milk, what will you do with it?  Next week, I will give you some ideas.

_________________________

Calling All Meat Bird Customers!!

Please note:

**All available chickens for June 30 have been sold!

**To accommodate the second flock’s outdoor housing needs, we had to move our second Pick-Up Day to August 4If you have already ordered from the this flock, I will contact you personally as a reminder.

**Our third and final Pick-Up day will be September 1st.

It’s not too soon to place your order.  These birds will sell quickly.

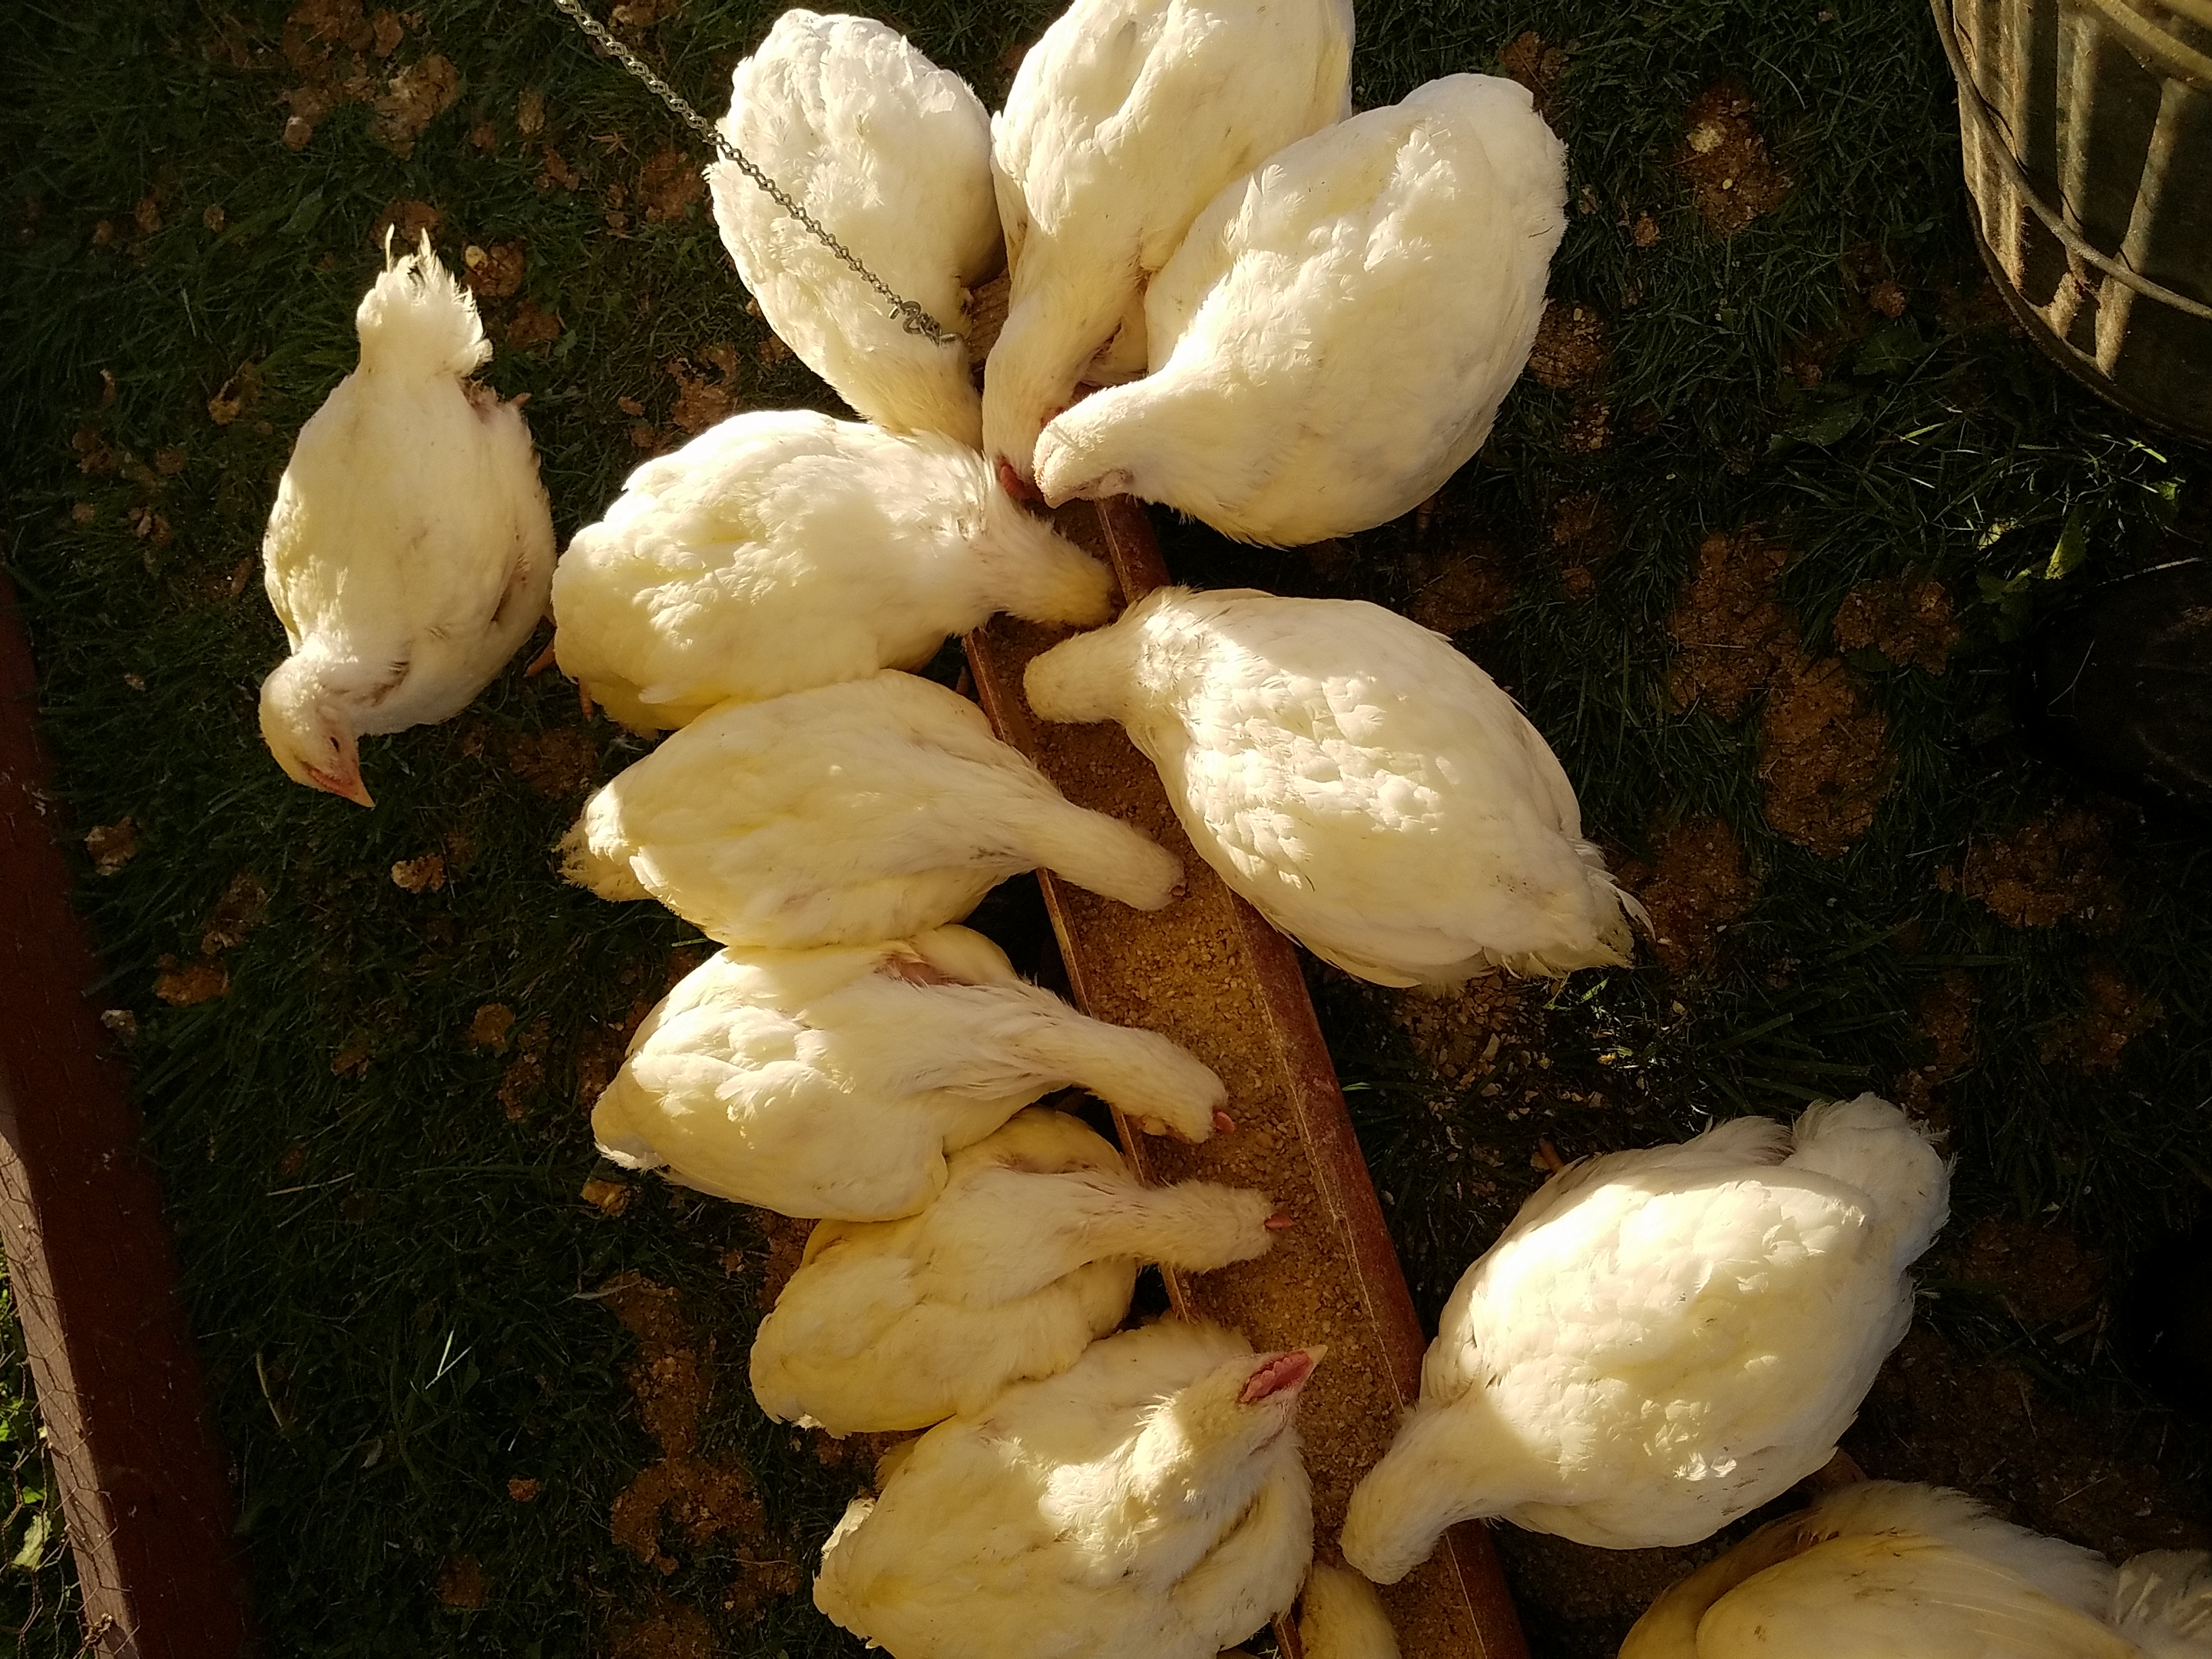
Our June 30th birds are looking good!