Soup Week

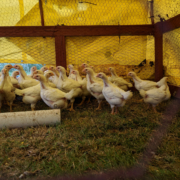
We arrived home from a relaxing vacation to discover that the thermostat on our enormous upright freezer had stopped working.  This is the freezer into which I had been faithfully stocking this summer’s fruits, vegetables, and yes, meat—lots of meat.  Thankfully, almost everything was still frozen.  And we had purchased a chest freezer this summer in which to store chickens for customers.  So until the repairman could visit,  David and I worked in tag team fashion, stuffing both the chest freezer and the kitchen freezer with everything that would possibly fit.

However…

Throughout the year, I had accumulated a nice collection of bones and bits of leftover meat from chickens, hams, and even a turkey.  The idea was that when the cold weather returned, I could use these nuggets of frozen inspiration to fill the house each week with the fragrance of warm bone broths and soups. Now, without even an extra inch in which to store them, I turned to Plan B.

“Why not spend a week making the soups now?” I thought. “By freezing them in meal-size portions, one dinner each week will be a simple matter of heat and serve.  Plus, what a great way to have a stockpile of soups ready to share with others at any time.”

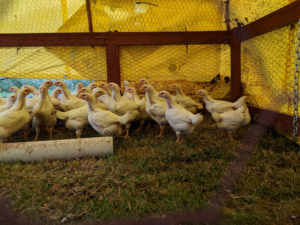
And so this week has been all about soup.  Through the chilly months to come, I will gladly share with you from the collection of recipes I have accumulated over the years.  Each will feature meat that we raise on Love Led Farm.  Each has been tested and approved by Critic Number One–my husband.  And, with each recipe I will share some tips for making it easier and healthier.

So, grab your cutting boards and soup pots.  It’s time to make soup!

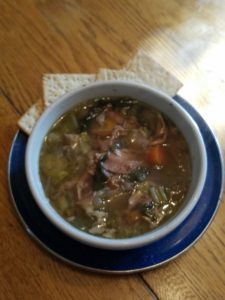
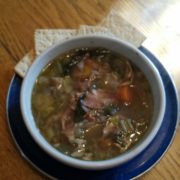
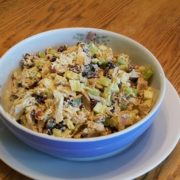
Today, let’s start with Basic Chicken Soup.   Uncomplicated, soothing to the body, and so good for you–it’s comfort in a bowl.

Chicken Soup with Vegetables and Noodles

What to Put In It:

The bones and meat from a roasted chicken

2 large stalks of celery, rough chopped

1 medium onion, rough chopped

2 or 3 medium sized carrots, sliced

2 tsp. minced garlic

1 tsp. thyme

1 tablespoon salt (you can reduce this if your chicken was already heavily seasoned)

1/2 tsp. pepper

water to cover–6 to 8 cups

1 large package of frozen mixed vegetables or 4 cups of fresh, chopped vegetables

2-4 cups of uncooked noodles (depending on how “noodly’ you like your soup.)

How to Make It:

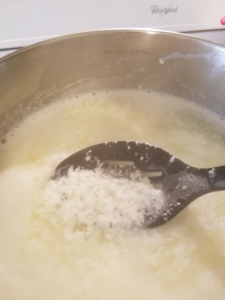
Load the chicken, celery, onion, and carrots into your stock pot.  Sprinkle the garlic, thyme, salt, and pepper on top and cover with water.

Bring the liquid to a boil and then cover and simmer for until the meat falls off of the bones–1 or 2 hours.  Turn off the heat and allow the soup base to cool.  Pull the meat off of the bones.  The bones get discarded; the meat goes back into the pot.  Add the remaining vegetables.  Bring the soup back to a boil, and then lower to a simmer until the vegetables are tender.  Add the noodles 10-15 minutes before serving.

Terrific Tips

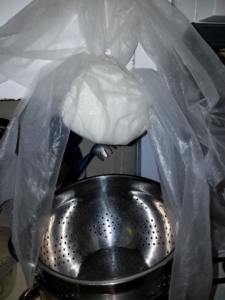
*Making Broth.  Since chicken broth is a basic ingredient for a lot of other soups and casseroles, I always keep several jars in the freeze. Instead of finishing the soup, I strain the liquid and discard the meat and vegetables.  Then, I cool the broth in the refrigerator so I can skim off the fat before transferring the golden liquid to freezer containers.

*Use Your Crockpot.  It’s so easy!  After we have enjoyed one of “Robin’s Roasted Chickens,”  I transfer the bones and juices right into my largest the crockpot.  I add the onion, celery, carrots, seasonings, and water, and let it cook overnight.   On soup day, simply add the rest of the vegetables and cook it on low during the day, adding the noodles towards the end.

*Instead of Noodles, Try Zoodles.  We like to add vegetables wherever possible.  So instead of noodles in our soup, I make zoodles.  I use 1 large zucchini and my spiralizer to create mine but they are also available in the frozen vegetable section of your store.  Some people like to salt and drain them before adding them but for soup, I have not found this necessary.  Just add them to the simmering soup about 10 minutes before serving so the zoodles can cook thoroughly, and since they tend to get mushy, don’t overcook them.

Soup season is here!  It’s time to stir up something warm and wonderful for your family.  What will be in your soup pot this week?


The Chickens Have Flown

Just as summer has quickly drawn to a close, our summer meat birds sales have quickly ended.  Hopefully, you have tucked a few of them into your freezer for the months ahead.

Now it’s time to start thinking of ways to use that delicious meat.  Since our hot summer is finally cooling into a more comfortable fall, let’s turn on our ovens.  Roasted chicken and one-pot meals are great for both family and friends.  A few months ago, we talked about how to roast the perfect chicken (See, “Robin’s Roasted Chicken”).  Now let’s start learning how to use the leftovers.

My husband loves Mexican food–the hotter the better.  I prefer a milder meal.  My Chicken Enchiladas are a dish we can both agree on–enough heat for his spicy palate, but plenty of cheesy chicken for me.   Try them and see what you think.

Chicken Enchiladas

The Ingredients

1 medium chopped onion

1 tsp. minced garlic

3 tablespoons of chicken broth

1 tablespoon flour

1 tablespoon cornstarch

4 oz. can of chopped green chilies

14 oz. of chicken broth

2 cups cooked, shredded chicken

10 oz. can of diced tomatoes with chilies

2 cups shredded mozzarella, divided

2 cups of sour cream

10 flour tortillas

In a saucepan, soften the onion and garlic in 3 tablespoons of chicken broth.  Add flour, cornstarch, green chilies, and 14 oz. chicken broth.  Cook over medium heat, stirring frequently, until thickened and bubbly.  Add the chicken, and remove from the heat.

In a large bowl, combine 1 cup of mozzarella, the tomatoes with chilies, and the sour cream.  Now add the chicken mixture and mix thoroughly.  This will be the filling for your enchiladas.

Spoon some filling into each tortilla and place seam side down in a lightly oiled baking dish.  Pour any remaining sauce over the tortillas and sprinkle the second cup of cheese on top.

Bake at 350 degrees for 20-30 minutes.

To make this Mexican comfort food a bit healthier, I use arrowroot instead of cornstarch and I substitute plain, goat milk yogurt for the sour cream.  I have also found tortillas that are lower in carbs and even some that are gluten free.

This recipe makes enough bubbly goodness to easily please 8 – 10 people.  Serve it with chips, salsa, and a bit of salad for a fiesta of flavor.


Making Cheese

Our dynamic duo, Holly and Edith, have been producing gallons of sweet, refreshing milk for us this summer.  Thanks to them, we have more than enough to satisfy our own needs and those of our herd share participants.   And so I have been practicing my culturing and cheese making skills.  Buttermilk, yogurt, several flavors of Chevre’, and jars of Feta with kalamata olives now fill our extra refrigerator and freezer in anticipation of the dry months when the does’ bodies need to rest.

Recently, I discovered a new cheese to try.  Some call it Paneer, some spell it Panier.  Either way, you’ll find it typically in Indian and Mexican recipes.  Paneer is a bland, almost flavorless cheese that can be used as a protein substitute for meat.  With the consistency and properties of tofu, this cheese adds a nutritious boost to many dishes while absorbing the flavors of sauces and other ingredients.

And guess what?  No soy! It’s made of easy-to-digest goat milk.

Do you have a vegetarian friend or family member?  Use this as a meat substitute in their chili or spaghetti sauce.  Add it to tacos or curry for an easy, meatless protein.  I recently used Paneer in lamb meatballs which baked in a fragrant, curry sauce.  Delicious!

Paneer is easy to make and can be adapted to whatever amount of milk you have on hand.  It calls for two ingredients:  milk and white vinegar.  That’s it!

Now, here’s how to make it:

The Equipment:  a heavy bottom pan (I like a double boiler), a thermometer,  food grade cheese cloth, and a cullender or strainer

The Ingredients:  1/4 cup of white vinegar for each  gallon of milk that you are using, and of course, raw milk.  Although I haven’t tried it, I am sure you could also reduce the vinegar for smaller amounts of milk.

Gradually heat the milk to 185 degrees, stirring frequently so it won’t scorch on the bottom of your pan.  Hold that temperature for 10 minutes–using a double boiler makes this easy.  Then pour in the vinegar and stir thoroughly.  The milk will begin curdling and coagulating almost immediately.  Let it sit for 30-40 minutes or until it cools.

Set the cullender over a large bowl or pan and line it with a double layer of cheese cloth.  Then carefully pour the milk/cheese curds through the cheese cloth.  Now tie the ends together to form a bag and allow the cheese to drain for at least 12 hours. As you can see, I hang mine from the knob of a kitchen cabinet.

When the whey has drained off, the cheese can be sliced, cut into cubes, or crumbled.  I divide mine into 1 pound portions to freeze for winter, making it easy to substitute for a pound of meat.

And now it is time for your imagination.  How could you use Paneer?  Smoothies?  Stir fry?  In a soup?  Why not!

As far as the goat milk to make it with…we still have herd shares available through December/January.  Contact me if you are interested in cold, fresh milk for your family.


Dying Brown Eggs

Will I ever outgrow the fun of coloring Easter eggs?  Not as long as I have family around.  Even after the girls left home, one or more of them would gather around the table a few days before Easter to plunge 2 dozen boiled white eggs into a rainbow of colors.  White eggs?

The breeds of hens that I raise lay brown eggs.  And  like most people, I assumed that dying them would be a problem.  So each year, I have dutifully made my way to the supermarket’s egg display to buy my sale-priced, 2 dozen, white eggs while my hens produced dozens of beautiful eggs–mine for the taking.  Not this year.

I recently read an article on dying brown eggs and decided to give it a try.  I purchased the same cheap dye kit that we have always used and hard boiled the eggs just like always.

Here are the results.

Are you surprised?  Me too!  The colors are actually more vibrant and have a beautiful sheen.  Thinking that brown eggs might need a longer soaking time to absorb the color, I left the first 6 in the color cups for about 5 minutes; the second 6 for only 2 or 3 minutes.  There was no noticeable difference.

As my husband admired the eggs, he asked the question that is on all of our minds:  “So with white eggs being less than a dollar and brown eggs being $3.50, why would anybody want to spend the money to dye them?”   And, if all they will be used for is an egg hunt, okay, I might agree.

But I want to eat these eggs, while maintaining our healthy food choices. Deviled eggs, egg salad, dipped in a bit of salt, we love hard-boiled eggs.   Yes, I want to be able to have my colored egg and eat it, too!  This year I have learned that I don’t have to compromise which makes me feel pretty good about serving them to those I love.

Happy Easter, Everybody!  Remember…the holiday isn’t about a bunny.  It’s about a Lamb.


Frozen Eggs

Ah Winter!

On one particularly cold January night, the egg basket sat forgotten in our garage.  The result?  Frozen eggcycles.  Rather than toss almost 3 dozen eggs that could not be sold, I decided to experiment.  Would they be any good?  Could I use them as usual?

Any eggs with large cracks were discarded as I saw no need to invite unwelcome bacteria into our bodies.  Those without cracks were divided into two groups.  The first were rinsed and stored in a carton in the refrigerator where, after many days, they finally thawed.

One morning, in an impatient mood, I thought I would try frying a couple.  After all, the dog, the cat,  and I wanted to eat eggs.  The finished product?

As the whites still contained plenty of ice crystals, they took longer than normal to cook.  The key seemed to be “Low and Slow.”  But as you can see, the end results were just fine.

The remaining eggs were placed in a basket where they sat at room temperature.  Although I removed all traces of dirt, I did not soak them.  This allowed their protective waterproof layer to remain intact.  Thawing, was of course, much quicker and once thawed, the eggs were just…eggs.  I cooked and baked with them with no noticeable differences.

So why would you purposefully want to freeze eggs?  Maybe you found a great deal on them and want to load up.  Perhaps you will be traveling and want to store the contents of your refrigerator until you return.  Maybe you want to take some on your camping trip without the mess of broken eggshells.  Or, perhaps you are food prepping and would like to freeze eggs in small portions for favorite recipes.

The American Egg Board has compiled an online, alphabetical encyclopedia about eggs.  Searching though it, you will find all you could ever wish to know, including how to freeze them.   Apparently, eggs can be successful frozen for up to a year.  However, because they do expand their contents when frozen, it is better to crack them open and pour the contents into freezer containers.  Here are some tips that they offer:

*Freeze only clean, fresh eggs and always label with the date you prepared them.

*For Egg Whites:  Separate the eggs one at a time, pour into freezer containers or into empty ice cube trays.  If you choose the latter, just empty each frozen compartment into a larger container and label.

*For Yolks:  It is a property of eggs yolks to gel when frozen, making them difficult to use in a recipe.  To help retard this this thickening, beat in 1 1/2 tsp. of sugar or 1/8 tsp. of salt per 1/4 cup of egg yolk (about 4 yolks).  Then freeze in a container and label.

*Whole Eggs:  Beat until blended.  Pour into containers, or again, ice cube trays.  Label with the number of eggs you have prepared and freeze.

To Thaw Frozen Eggs:  Place containers of frozen eggs in the refrigerator overnight to thaw (I haven’t tried this but I assume they thaw more quickly without their shells) or under running water.  Egg whites will beat better if you then allow them to sit at room temperature for about 30 minutes.

Frozen or not, what other questions might you have about eggs?  Check out the website of the American Egg Board for answers:  https://www.incredibleegg.org.  Then contact me for fresh–not frozen–non-gmo, free-range eggs.

Creating your best dishes, starts with the best ingredients.

Robin—Love Led Farm

Balancing My Year

“Balance is not something you find, it’s something you create.” Jana Kingsford

Nature teaches us the truth about balance.  God’s plants and animals know that there is a time for growing, producing, harvesting, and resting.  It seems that we humans learn a bit more slowly.  But when my body and pen were overly taxed, thanks to two back-to-back viruses, January became a time to rest and recoup.  Resting the body, however, did not mean relaxing the mind.  And so January also was a month of thinking, accessing, learning, and planning.

I am so excited about the months ahead!

The first big news to share with you is that in March, after 11 years, I will be leaving my off-the-farm job to become a full-time farmer.  For me, this is a dream come true; for you it means more availability to help with questions and visits.   In fact, this summer I will establish weekly”store hours” when someone will be available on the premises to personally help with anything you need.

Here is a summary of 2017 and then a quick peak at a few of the plans we have for 2018:

*Goats – Four herd share customers shared the milk of two goats last year.  This year, I have bred a third doe, which means there will be more herd shares available.  Call or email me if you are interested.  Herd shares will begin in May.

*Eggs – In 2017, we sold 90-100 dozen eggs per month.  That’s quite an omelet!  We will continue to expand the flock this year, and yes, Oliver does have his famous blue eggs to sell.  The roadside sign will probably go up in May.  Until then, call or email if you want eggs.  We have plenty.

*Meat Chickens – Last year we raised almost 200 delicious chickens.  This year, we plan to raise 300.  Due to Michigan’s finicky spring weather, we will start the first flock in early May.  Pick-Up Days will again be in June, August, and September.  Watch future posts for details and start planning your order.

*Hogs – David and Oliver will be raising a few hogs this year.  You will be able to order quarters, halves and whole.  Their plans are to start the piglets in early April and  finish them by November.   Let me know if you are interested so that they will raise enough.

*Sheep – This will be my “practice” year as I expand into non-gmo, grassfed lambs.  This year’s flock will be small but if you are interested in lamb for your freezer this fall, let me know.

*Turkeys – We have talked about it for years–non-gmo, pastured turkeys.  This year, we will add them to the farm.  You’ve enjoyed our chicken.  Why not buy your Thanksgiving turkey from us, too?  Details will be coming, so watch and prepare to order yours.

What an ambitious year!  I can feel my impatience, waiting for spring to arrive so we can take off running.  But even as I write,  I remember the need for balance.  So instead of impatience, let me choose gratitude for these cold winter months.  I need them, if only to remember that things other than farms are important, too…like the four little people who call us Papa and Nana.


Need Eggs?

There was the time that I stood by a nest begging a hen to finish laying her egg.  I needed it to fill an order for a customer who was standing in the garage/sales room, waiting for her order.  Talk about fresh!

I am happy to report that we now have plenty of eggs for everyone–enough that we have put the roadside sign up again.  These are non-gmo (always), free-range, and full of nutrition.  You will find them in the blue cooler near our convenient, circular drive.  We charge $3.50/dozen–a bargain if you have priced non-gmo eggs lately–and should stay fresh and delicious for 2-3 weeks.  With holiday baking just around the corner, you will want to keep plenty on hand.

Delicious results start with delicious ingredients–insist on the best.

We’re Love Led Farm.


The Four Day Chicken–And Then of Course, There’s Soup

What would a four-day chicken challenge be without including the comfort of soup?  I hardly think I need to include a recipe since everyone has their own version–just like grandma used to make, right?  But since boring and bland are not tastes I want coming from my kitchen, I have added a few twists to make this soup oh, so very nice.

For starters, I actually started the soup on Day One of my challenge.  After removing most of the meat from my roasted chicken, I put the bones back into my cast iron dutch oven along with the giblets which I had kept just for stock.  I added a quartered onion, 2 large stalks of celery cut into large pieces, 2 cloves of garlic, and 2 large carrots cut into chunks.  I covered this with water–about 8 cups–and allowed it simmer for a couple of hours.  By that time, I was ready for bed so I refrigerated the whole thing.

The next day, I skimmed off most of the fat and removed all remaining meat from the bones.  If I only wanted the broth, I would have reheated the pot just until the juices had liquefied, and would then have strained it through cheesecloth in my colander. Then I would have divided the clarified broth into freezer containers for later use.


Some vegetable pastas get mushy when reheated so if you are freezing your leftover soup, remove the remaining noodles.  In a later post, I’ll teach you how to freeze and reheat them successfully.

Now that I have reached the end of my four-day challenge, it is your turn.  How do you cook your pastured chicken?  What do you do with the leftovers?  What ideas, tips, and secrets can you share?  Cooking and learning together is fun and motivates us all to make wiser, healthier choices in delicious ways.


Curried Chicken Salad–Day Three of the Four Day Chicken

Boring food?  Not in this house!  David and I are admittedly foodies who enjoy a wide variety of colors, textures, and flavors.

When planning my four-day chicken challenge, I wanted to include a salad.  But not just any plain salad.  No thank you!  Ours  had to have excitement–some zip and zing.  My curried chicken salad fits that description perfectly.  It has flavor, crunch, a hint of sweetness, and is just the thing for a warm summer evening.

I served our on beds of dark, mixed greens, but this would also make a nice sandwich filling or would be great on crackers.  An added bonus:  the longer this sits the more the flavors meld together which makes for some pretty delicious leftovers.  Here’s the recipe.

Curried Chicken Salad

4 cups of cooked chicken

1T curry powder–some people like more so adjust to taste

1 cup of raisins or dried cranberries.  David isn’t a fan of raisins, so I used the cranberries.  He loved them.

2 cups of chopped celery

1 cup pecans or almonds, roughly chopped–I toasted my pecans in the oven for 10 minutes at 350 degrees to give them extra crunch

1 cup mayonnaise

Put the chicken in a large bowl and add the curry powder, stirring to coat.  Next, add the cranberries and finally, the rest of the ingredients.  Stir to incorporate.

Chill or serve at room temperature.

Yield:  6-8 generous servings

Now I need to tell you about my OOPS!  Yesterday, I took some leftover salad to work for lunch.  Then, distracted by other things, I mindless stuck it in the microwave.  Groaning, I thought, “Well, why not give it a try anyway?”  It was delicious–kind of like a curried chicken casserole.  I think if I ever made it on purpose though, I would add a bit more curry.  You know the old idea…accidents can lead so some pretty great inventions.

Tomorrow I’ll wrap up my four-day challenge with an old traditional standby, Chicken Soup.  Send me your recipes and ideas so we can continue to learn together.

And since chicken is on your mind right now, don’t forget to order your meat birds.  It’s time to start filling your freezer for the months ahead.


Day Two of “The Four-Day Chicken”: Chicken Enchiladas

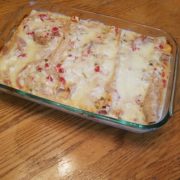
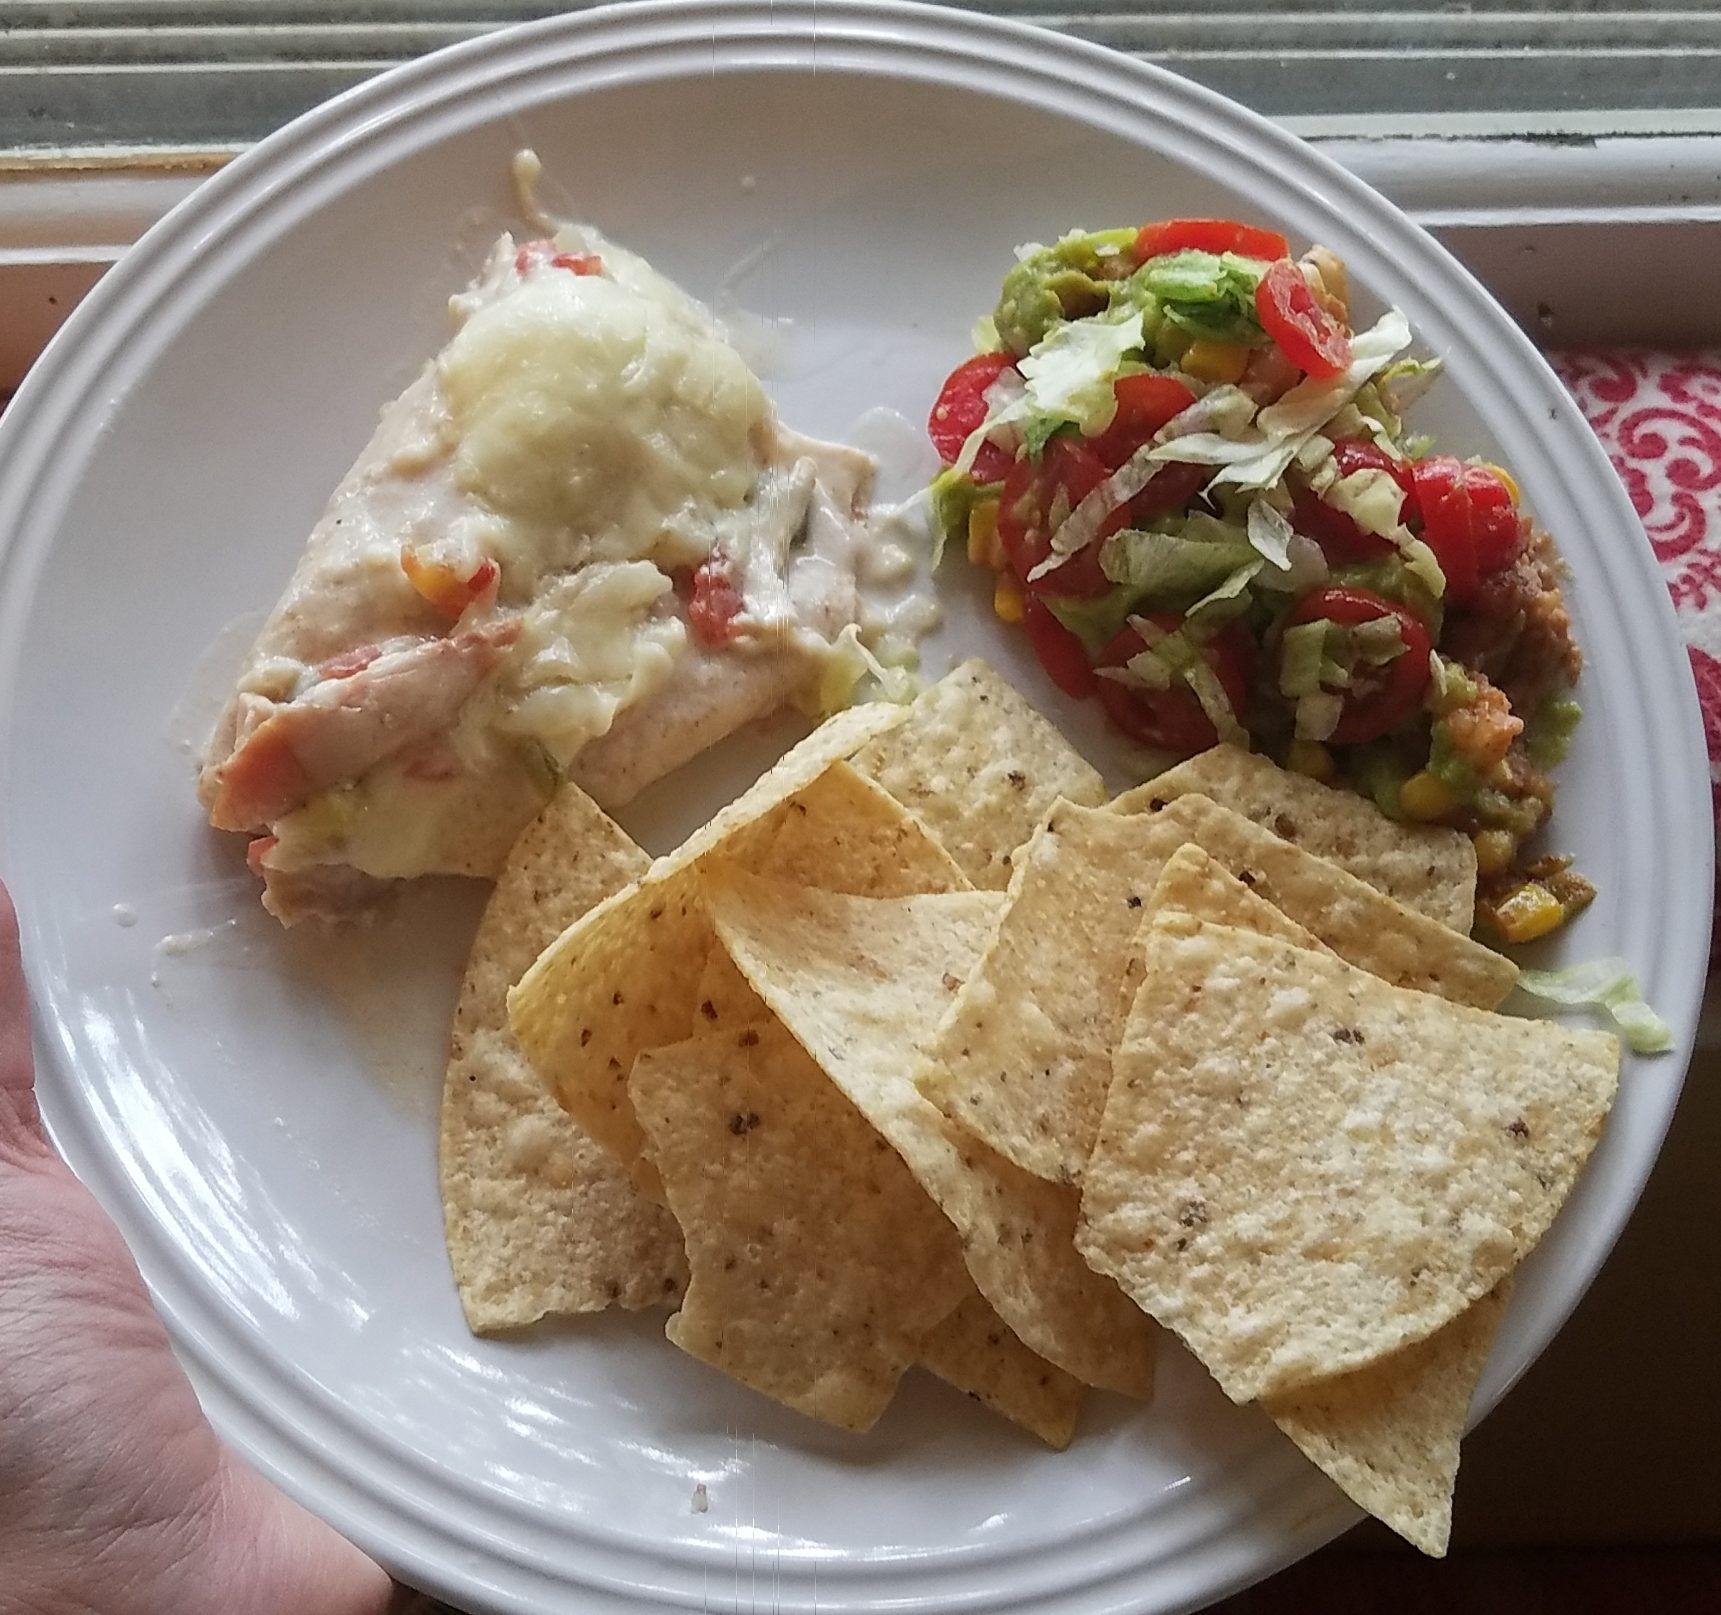
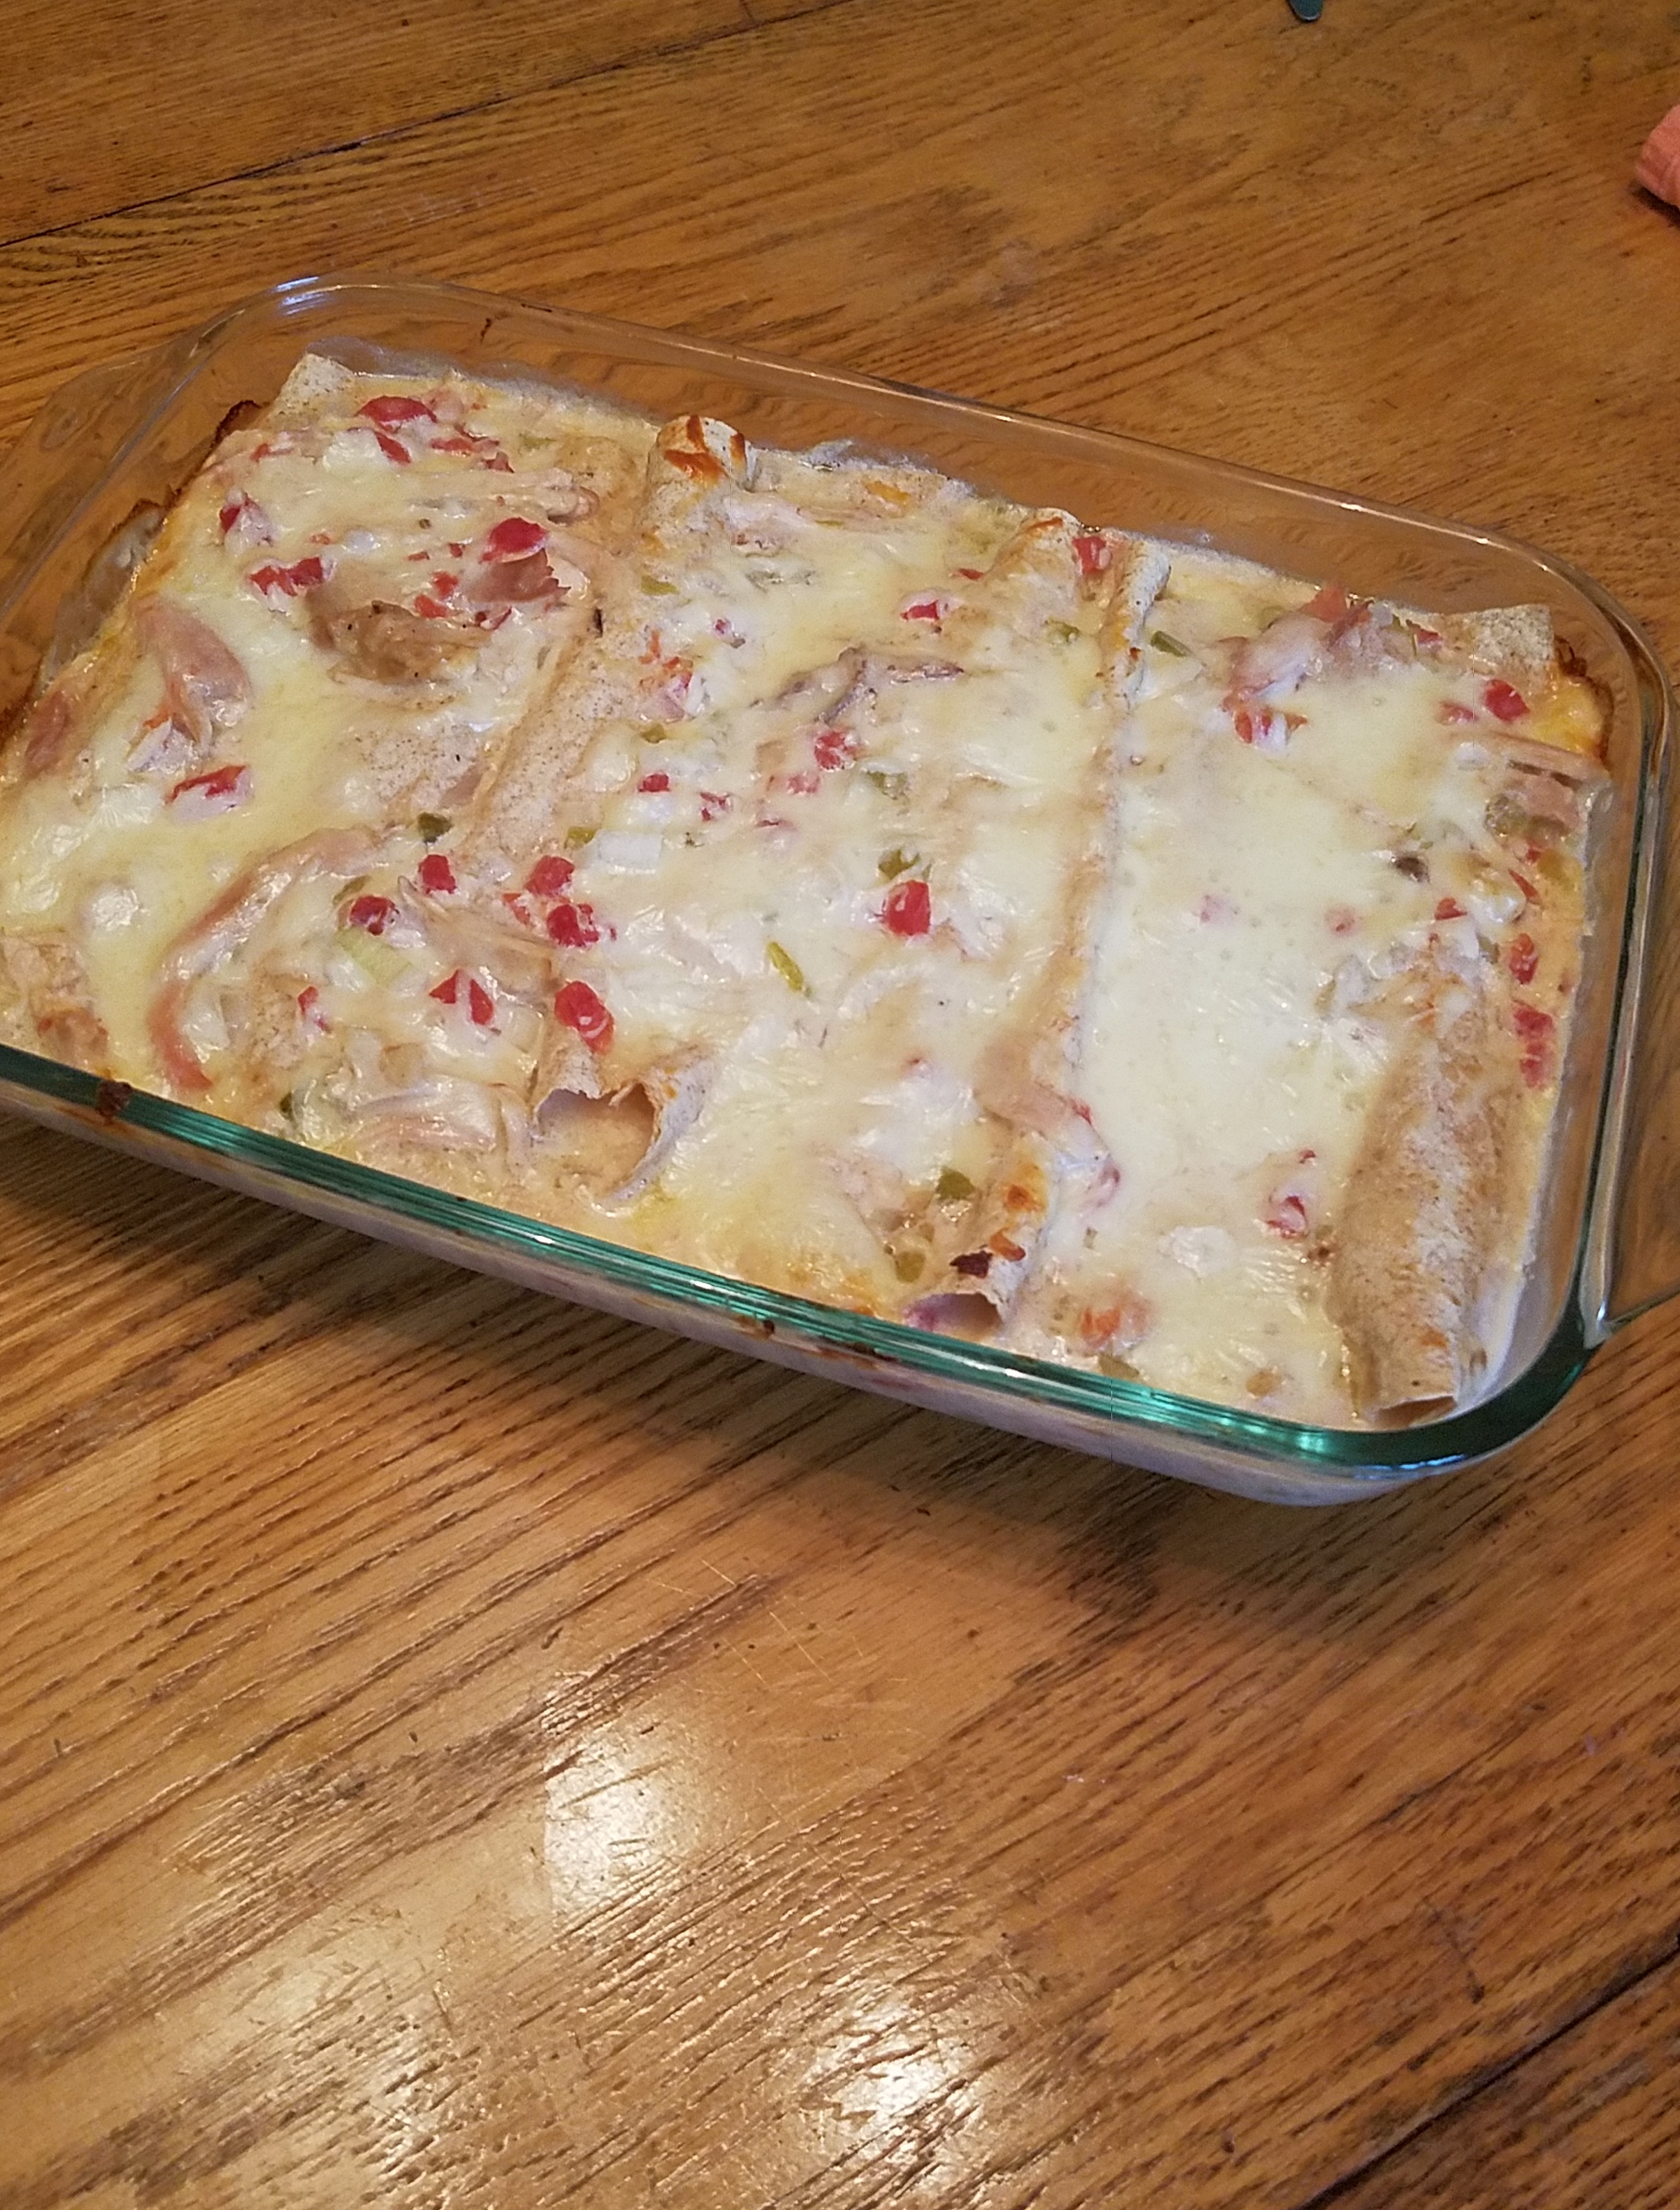
My husband considers Mexican cuisine to be a food group.  So Day Two of my four-day challenge had to feature something spicy.  Meet the Chicken Enchilada…a great way to use part of my leftover roasted chicken.  I have had this recipe for years and have served it to many guests.  It yields a large pan of cheesy, chicken goodness.

Chicken Enchiladas

1 medium chopped onion

4-oz. can chopped green chilies

1 tsp. minced garlic

 3T chicken broth

1 T cornstarch (I used arrowroot powder)

1T flour

14 more ounces of chicken broth

2 cups cooked chicken

2 c. shredded mozzerella

10-0z. can diced tomatoes and green chilies (drained)

2 c. sour cream (I use plain yogurt)

1/4 c. chopped, seeded jalapeno peppers, if desired for extra heat

10 flour tortillas

Combine 3 tablespoons of chicken broth, the garlic, and the onion in a saucepan.  Cook until soft.  Add flour and cornstarch or arrowroot, 14 oz. of chicken broth, and the green chilies.  Wisk until bubbly and smooth.  Add the cooked chicken and remove from the heat.  In a large bowl, combine the diced tomatoes, jalapeno peppers, sour cream or yogurt, and half of the cheese.  Then add the heated chicken sauce, stirring to combine.  Make the enchiladas by spooning the sauce onto each tortilla, rolling them and placing them in a baking pan.  My 11 x 13 pan works well for this.  Pour the remaining sauce mix over the rolled up tortillas.  Sprinkle with the remaining mozzerella.  Bake at 350 degrees for 30-45 minutes.  Serves about 10 portions.

On Sunday, we served this with chips and a heated seven-layer dip made by my daughter, Rebecca.  Yummy!

Then, David and I feasted on the leftovers–which gave us at least two more lunches and certainly satisfied his cravings for heat and spice.

Join me tomorrow for another flavorful idea:  Curried Chicken Salad.  See you then!